This article describes how to restore a Microsoft Exchange storage group that was previously backed up by R1Soft CDP. Starting from Version 4.2.0, the CDP Server provides the special function of Exchange database replication. Read more in Restoring a Microsoft Exchange 2007 Storage Group to an Alternate Location.
CDP provides the ability to take a snapshot of the Microsoft Exchange storage groups. Since CDP uses the VSS Exchange writer, data integrity and consistency during the backup operation are ensured.
1. Using CDP to restore database data and log files
In order to restore a database, follow the instructions below.
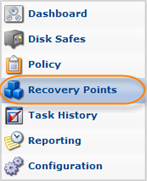
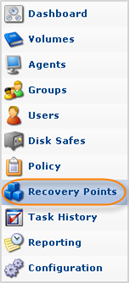
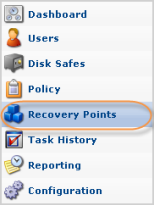
1. Click on "Recovery Points" in the Main Menu to open the "Recovery Points" window.
| Standard Edition | Enterprise Edition | Advanced Edition |
|---|---|---|
 |
 |
 |
2. In the "Recovery Points" list, from the horizontal menu, select the Agent where MS Exchange is installed and the appropriate Disk Safe to restore from.

3. Then select a Recovery Point to restore from, and click on the "Browse" icon in the "Actions" column for this Recovery Point.

| Tip To find a Recovery Point, you can use the Basic and Advanced List Filters. See Customizing the Recovery Points List. |
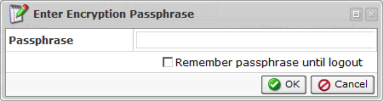
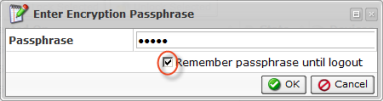
| Note Note that if you configured the encryption during Disk Safe creation, you will be asked to enter the encryption passphrase when you click on the "Browse," "Bare Metal Restore," "Browse Databases," or "Exchange" icon.
So that you don't have to enter the passphrase every time you click on one of the above-mentioned icons, check the "Remember passphrase until logout" check-box. Then click the "OK" button.
|
4. The "Browse Recovery Point" window opens.

See also: Browsing Recovery Points.
5. Browse to locate the Exchange check point file, and the data and log files (Enn.chk, .mdf, and .ldf).

Select the checkboxes next to the files and folders to restore.
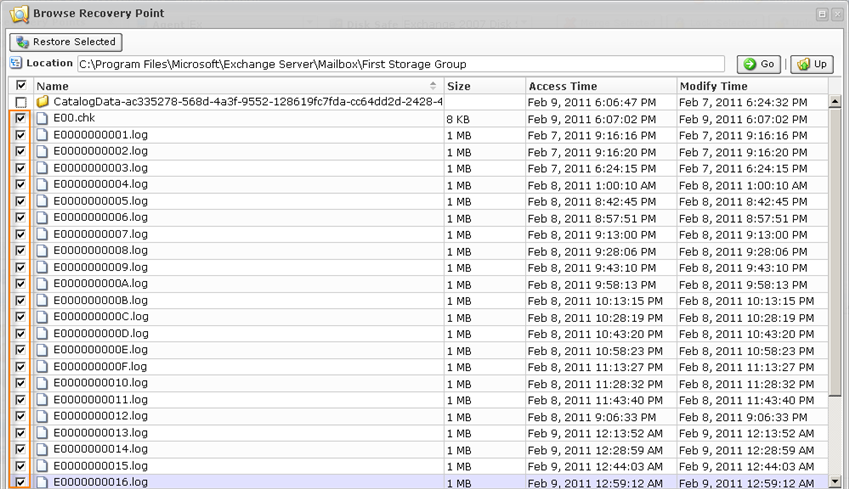
6. Once the files and folders are selected, click on "Restore Selected."

7. The "Restore Files" window will open.
8. Select the Agent where MS Exchange is installed.
Specify to restore the files to an alternate location, as we are later going to attach them to an Exchange Recovery Group.
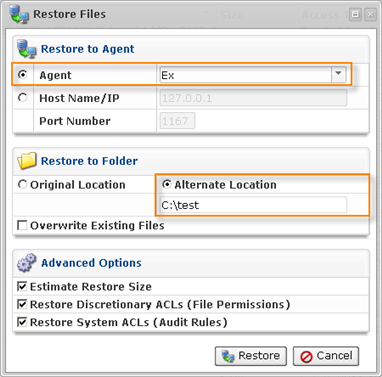
9. Click "Restore."

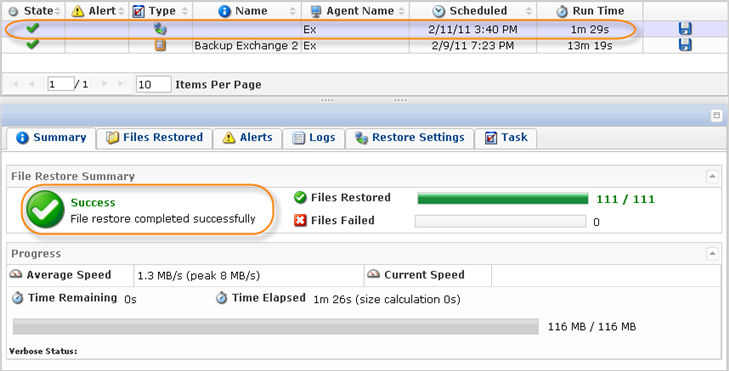
10. You can view the Restore Task results in the "Task History."
11. In the "Task History" list, find the Task you want to view the summary for and click it. The "Summary" tab located in the bottom area accumulates general information about the task.
2. Using Eseutil to replay log files
Once the files have been restored, it is time to run Eseutil to get the data files into a clean shutdown state so that they can be attached to a recovery storage group, and so that the log files are played into the backup.
On the Exchange server where the files were restored, open up the command prompt, and change the directory to the location where you restored the .chk, .edb, and .ldf files. Operating inside of the directory where the data and log files exist eliminates misspellings, incorrect paths, etc.
For example, if the files were restored to the c:\test directory, but the original files were located under this directory ...
C:\Program Files\Microsoft\Exchange Server\Mailbox\First Storage Group,
... then the restore directory path will be as follows:
C:\test\Program Files\Microsoft\Exchange Server\Mailbox\First Storage Group.
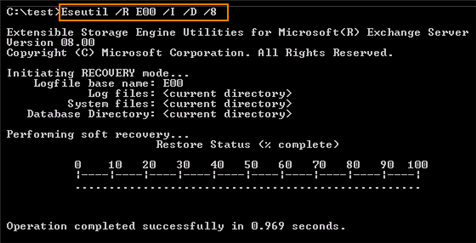
From this directory, run the following command:
For example:
For more information on using Eseutil and the different commands, see the following technet article:
http://technet.microsoft.com/en-us/library/bb123479%28EXCHG.80%29.aspx
3. Creating an Exchange Recovery Group
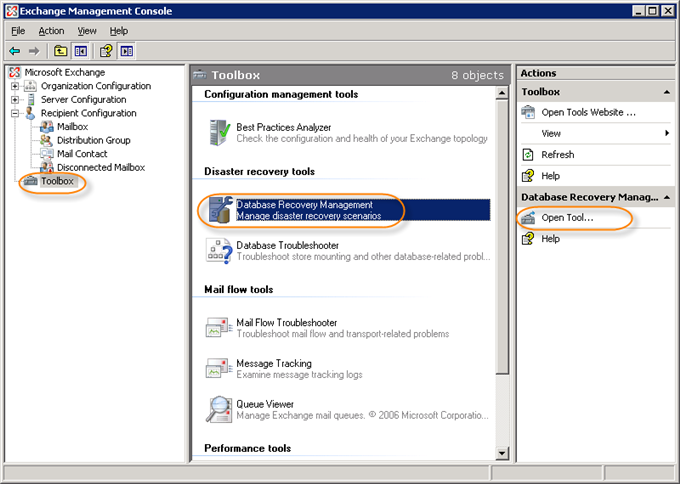
1. From the Exchange Management console, click on the Toolbox ![]() Database Recovery Management
Database Recovery Management ![]() Open Tool.
Open Tool.
2. It will now check for updates.
3. After any updates are performed, go to the Welcome screen. Type in an identifying label for your activity, and click "Next."
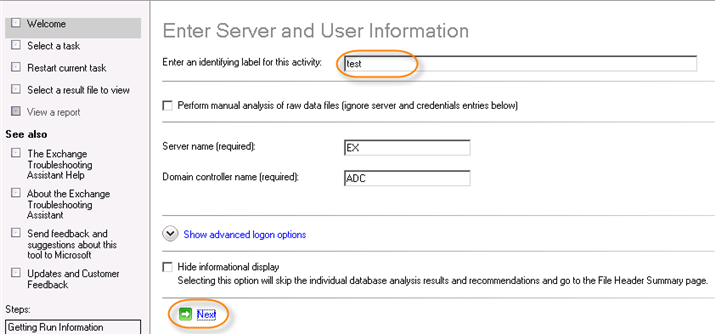
4. It will check the connections to the domain controller and the Exchange Server.
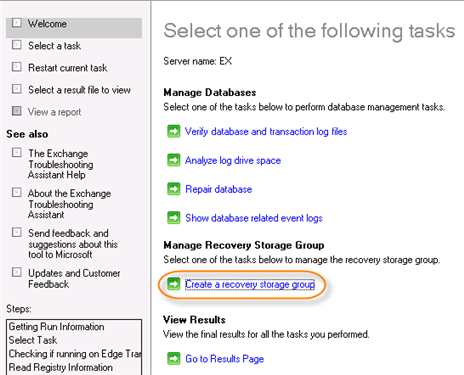
5. On the next screen, select "Create a Recovery Storage Group."
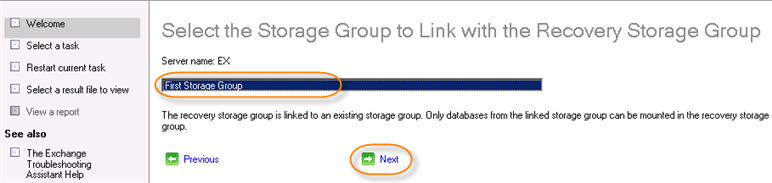
6. Select the Storage Group (files previously restored) which will be linked to the Recovery Storage Group. Click "Next."
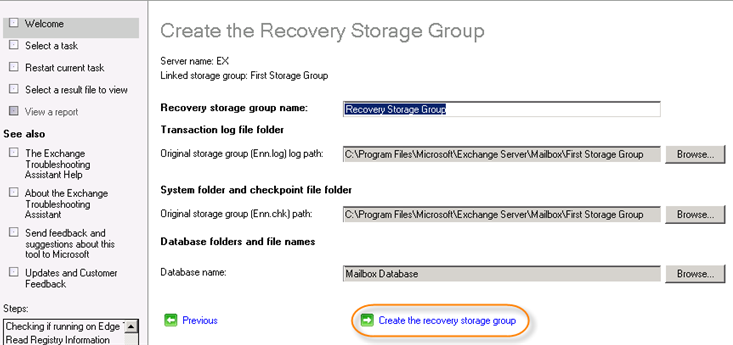
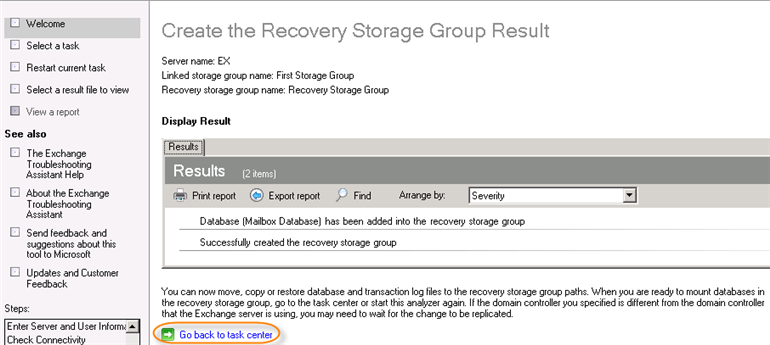
7. The next screen can be left with the default settings. The Recovery Storage Group paths are the locations where the restored files will need to be copied later. Click "Create the Recovery Storage Group."
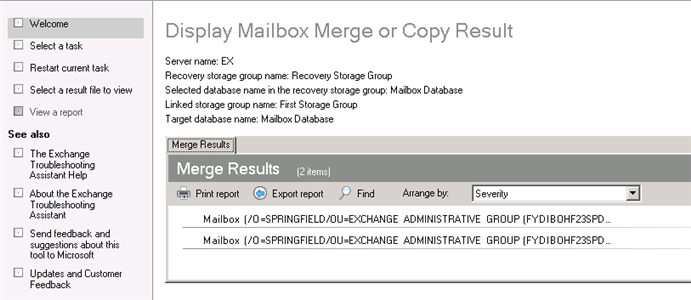
8. Next, the result will be displayed. Click on "Go back to task center."
4. Copying files from the CDP restore directory to Exchange Recovery Storage Group directory
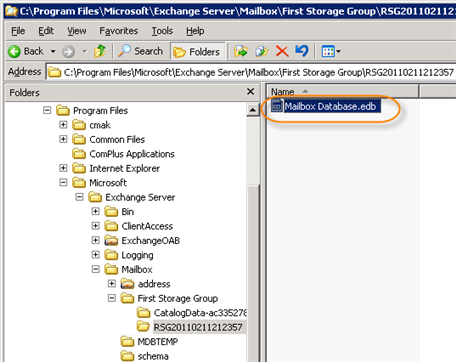
Copy the files which you previously ran the Eseutil against to the recovery directory (normally located under a folder of the storage group).
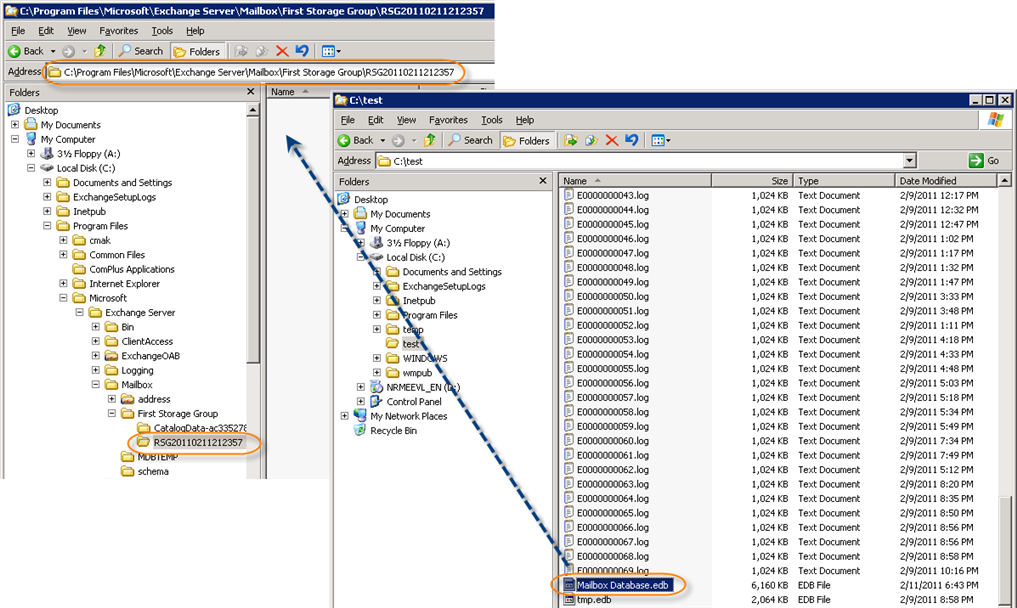
The result looks like this:
5. Mounting Storage Group
Once the files have been copied to the Exchange Recovery Storage Group directory, they can be mounted.
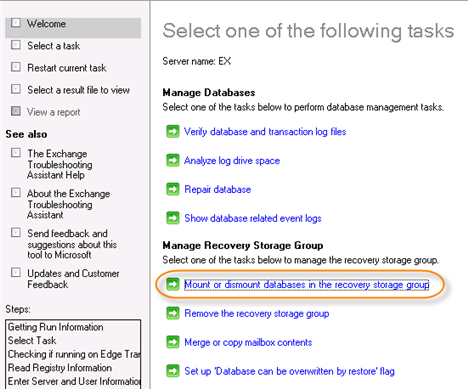
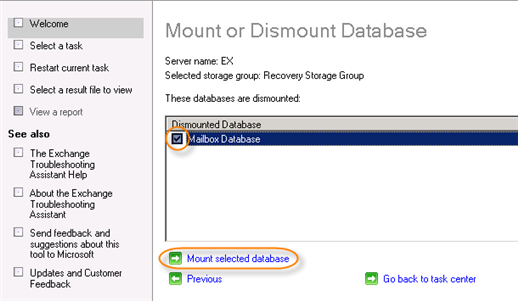
1. From the Welcome screen under the "Microsoft Exchange Troubleshooting Assistant," click "Mount Databases in the Recovery Storage Group."
2. Check which database to mount, and click "Mount selected database."
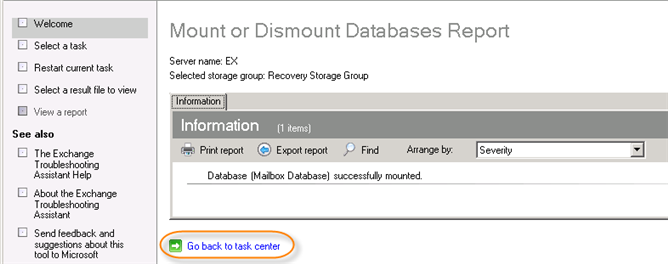
3. Once the database has mounted successfully, click on "Go back to task center."
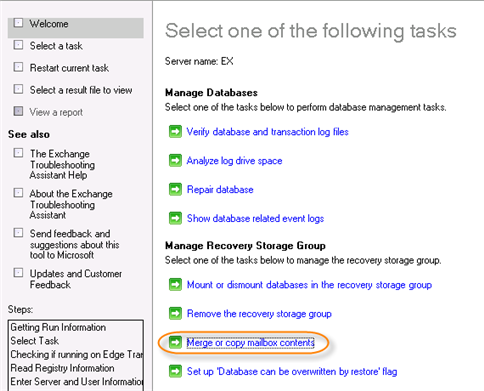
4. From the Task Center welcome screen, click "Merge or copy mailbox contents."
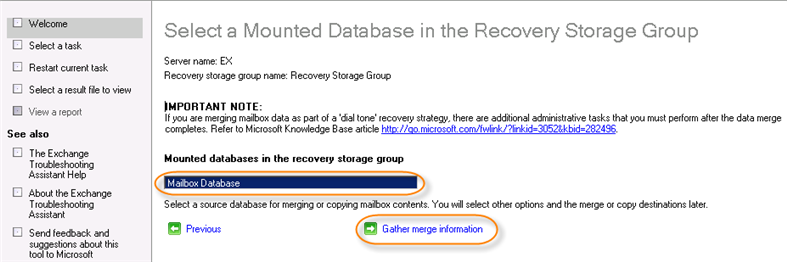
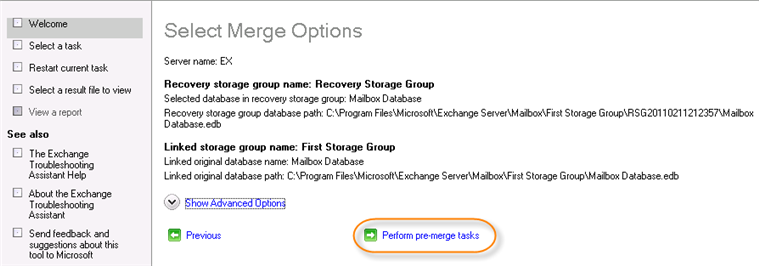
5. Specify which database to use for the merge. Click "Gather merge information."
Click "Perform pre-merge tasks."
6. Locate and check the mailbox needed to be recovered, and click "Perform merge actions."
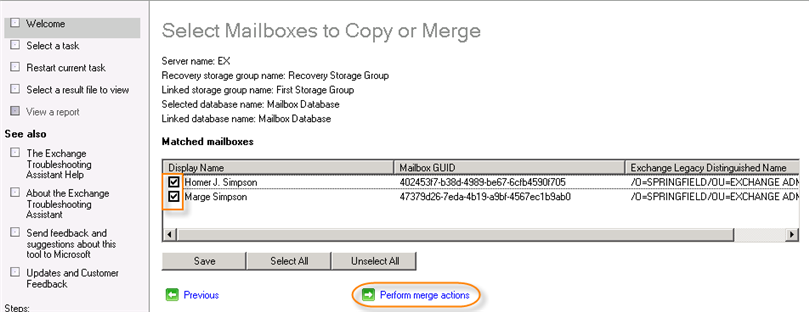
7. The mailbox is now restored.