This article describes how to restore a Microsoft Exchange database that was previously backed up by R1Soft CDP.
| Tip Exchange 2010 no longer includes the concept of Storage Groups. In earlier versions of Exchange, one or more Exchange database could be grouped into a Storage Group, which could then be managed as a unit. Because Storage Groups were removed from Exchange Server 2010, a recovery database can be used instead. |
In order to restore a database, follow the instructions below.
1. Click on "Recovery Points" in the Main Menu to open the "Recovery Points" window.
| Enterprise Edition |
|---|
 |
2. In the "Recovery Points" list, from the horizontal menu, select the Agent where MS Exchange is installed and the appropriate Disk Safe to restore from.
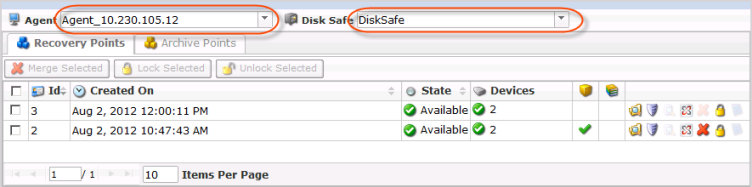
3. Then select a Recovery Point to restore from and click on the "Exchange" icon in the "Actions" column for this Recovery Point.

| Tip To find a Recovery Point, you can use the Basic and Advanced List Filters. See Customizing the Recovery Points List. |
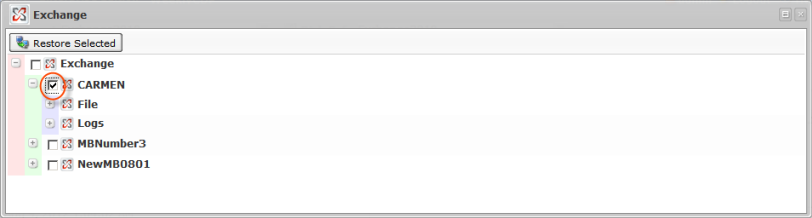
4. The "Exchange" window will be opened.

5. Select the database you want to restore by clicking on the appropriate check-box.
| Tip Click on the "Plus" icon to expand an item in the tree. |
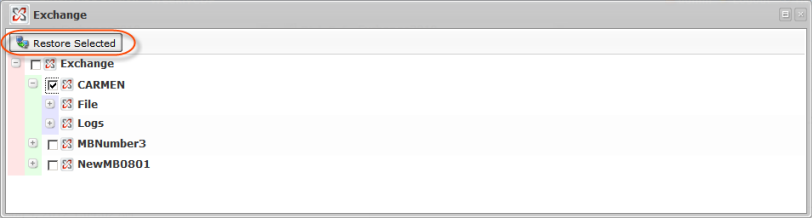
6. Once a check-box of a database to restore is selected, click on the "Restore Selected" button.
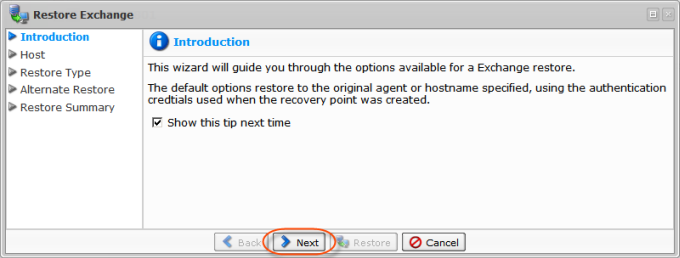
7. The "Restore Exchange " window will be opened. Read the information and click the "Next" button.
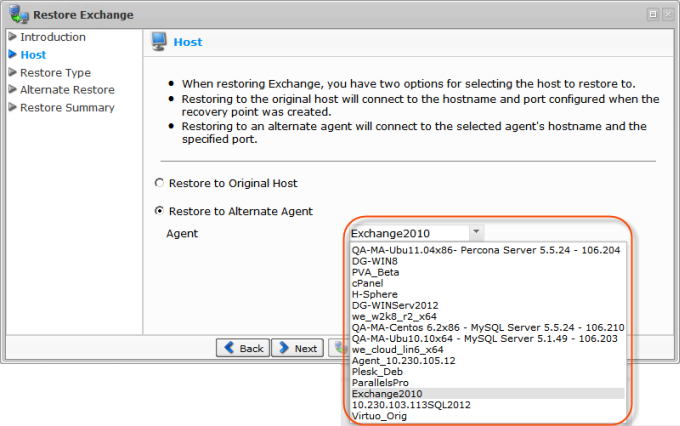
8. On the "Host" screen, you can select one of the following options:
- Restore to Original Host - Connects to the hostname and port configured when the Recovery Point was created.
- Restore to Alternate Agent - Connects to the specified hostname and port. Available only for Enterprise Edition.
In our example, we select "Restore to Alternate Agent."
Click the "Next" button.
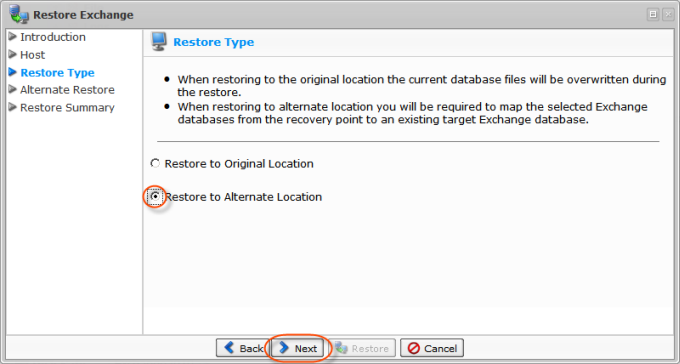
9. On the next "Restore Type" screen, select one of the following options:
- Restore to Original Location - The current database files will be overwritten during the restore.
- Restore to Alternate Location - This option requires mapping the selected Exchange databases from the Recovery Point to the existing target Exchange databases.
In our example, we choose the "Restore to Alternate Location" option, as we are later going to attach files to an Exchange Recovery Group.
Click the "Next" button.
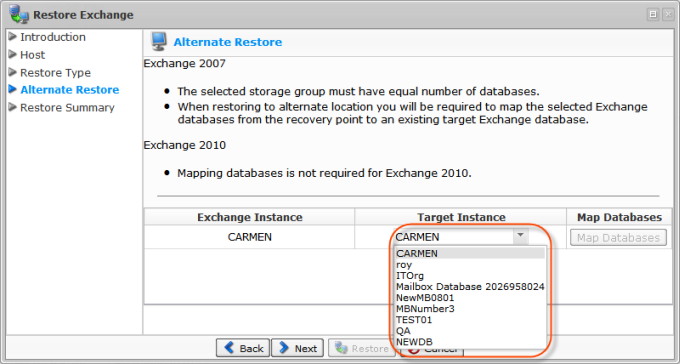
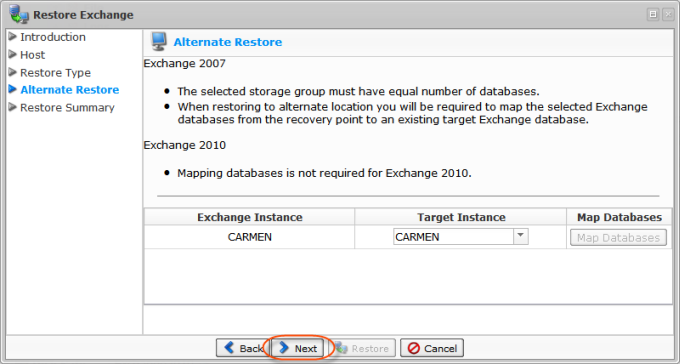
10. The next step is to choose a Target Instance.
| Notice Mapping databases is not required for Exchange 2010. |
11. Click the "Next" button.
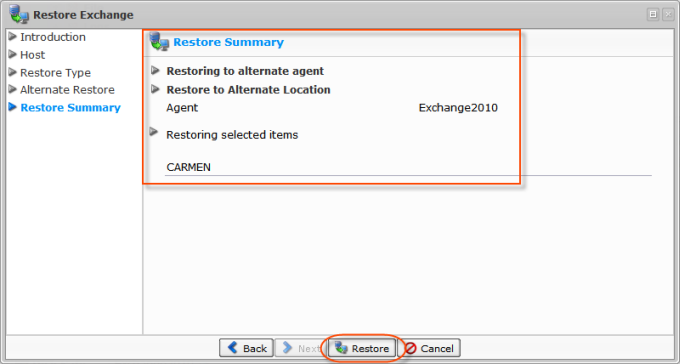
12. Verify if the selected settings displayed on the "Restore Summary" are correct and then click the "Restore" button.
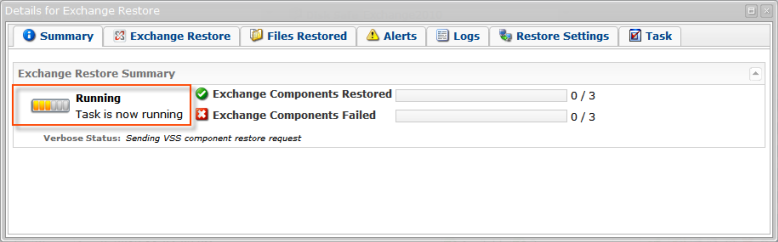
14. On the next window, you will see a running process bar.
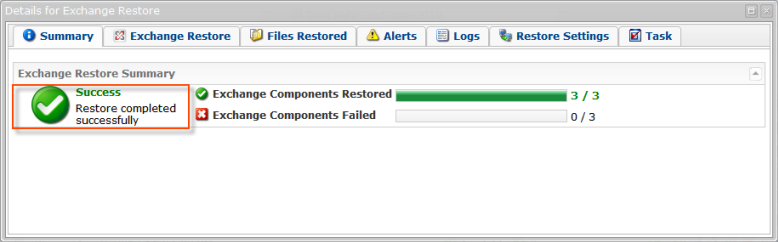
15. If there are not any errors, you will see information about the successfully completed task.
16. You can view the Restore Task results. Go to the "Task History" in the Main Menu.
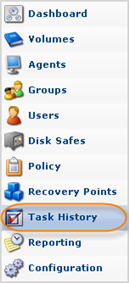
Find the Task you want to view the summary for and click it. Then click on the "Exchange Restore" tab located in the bottom area. You will see what types of data have been restored.

See also: Recovering a Mailbox from MS Exchange 2010.