You may be informed by email when a new version of R1Soft software is released. New versions are improved by bug fixes and new/reworked functionality. All enhancements made to the product are documented in the release notes. Release notes usually contain a brief summary of recent changes, enhancements, and bug fixes in a particular software release.
| Note New in version 4.2. Windows installers will support English, Japanese, and Spanish. End users cannot add install support for additional languages. Language chosen during the install will NOT become the CDP Server default user language. |
| Note You can view the release notes here: Release Notes |
First, obtain the latest version of the CDP Standard Edition installer (4.2). Then access the computer where the current version is installed. (You must already have a PC running Windows CDP 3.18.2 Standard Edition or an earlier version.)
| Note R1Soft products follow this format for version numbers: MAJOR.MINOR.MAINTENANCE. Pre-release downloads ALWAYS have a version number that has an ODD MINOR number, e.g., 3.7.5. Stable downloads ALWAYS have a version number with an EVEN MINOR number, e.g., 3.8.1. |
While upgrading, the following information may be useful:
- To upgrade the CDP Server, you do not need to uninstall the previous version.
- It is recommended that you close all other applications before starting Setup. This will make it possible to update relevant system files without having to reboot your computer.
- The 3.18.0 release contained an updated driver to support new features and/or fixes. If you are upgrading from an earlier release or are performing a new installation of 4.2, a reboot is required for proper operation of the Windows agent. This is not a forced reboot as the user has to approve the reboot by selecting "Yes" or "No" during the install process.
- Customers upgrading Windows Agents from 2.x to 3.14 or later versions no longer require a manual uninstall of the 2.x Windows Agent. Users running the 3.14 installer will be prompted during installation to remove the 2.x Agent (if detected). The installer will remove all 2.x binaries and require a reboot and re-run of the 3.14 installer to complete the installation process.
- Customers upgrading from version 3.10 with Archiving Limits set prior to upgrade will need to reset archive limits post-upgrade. This can be easily accomplished using the bulk edit feature, which can be accessed via the Policy tab.
- The upgrade will change the java heap size to 50% of physical memory if the server.conf file has been customized with a higher value. Reserving more than 50% of a system's memory for the Java Heap can result in situations where not enough memory is available to the CDP server for non-heap memory or for other applications running on the system.
- Customers upgrading from version 3.10 or earlier versions may experience a delay when starting the WebUI. Please be patient as important updates are in progress. The log file will display "CDP Started" when all database updates are complete.
To upgrade the Windows CDP Standard Edition to version 4.2, perform the following steps:
Notice
|
1. Log on to the Windows server as a member of the local Administrators group.
2. Navigate to the directory where you saved the CDP Server installation file. The installer will be named something similar to the following:
For a 32-bit system:
- File name - R1Soft-StandardEdition-win32.zip
- File size - 138 MB
For a 64-bit system:
- File name - R1Soft-StandardEdition-win64.zip
- File size - 157 MB
3. Extract the file from the archive. Execute the file.
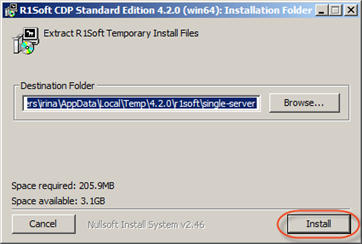
4. In the Welcome window, select a destination folder and click "Install."
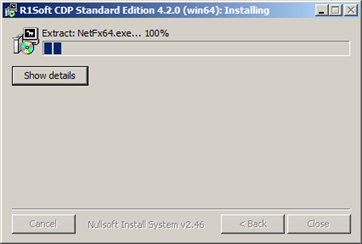
5. Wait while the files are extracted.
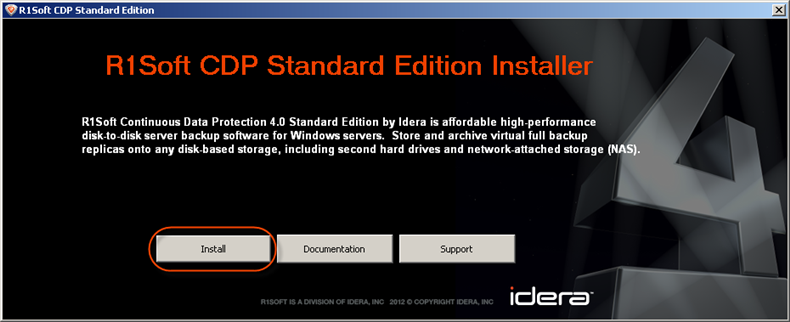
6. Click "Install" in the opened window.
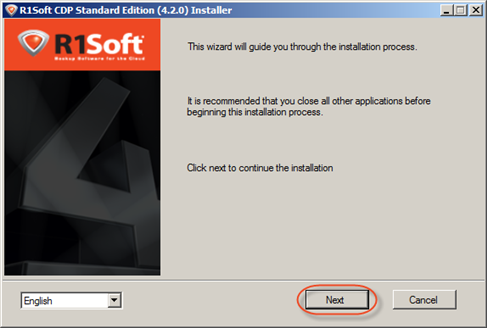
7. The R1Soft CDP Standard Edition Installer will open. Make sure all other applications are closed and click "Next."
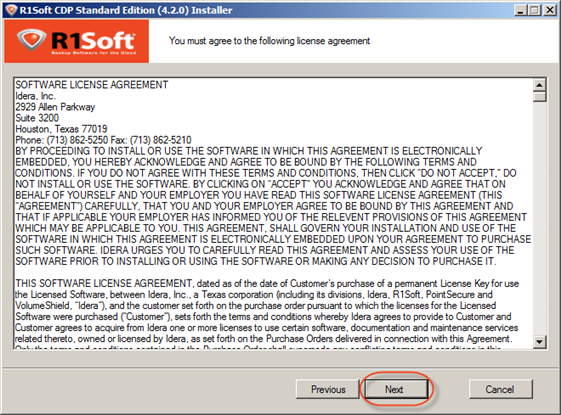
8. You must agree to the following license agreement. Read it till the end and click "Next" to accept.
9. The installer will check your system for possible problems. It is strongly recommended that all tests have a "Pass" status. You can repeat the tests by clicking the "Test" button. Click "Next" to go to the next screen.
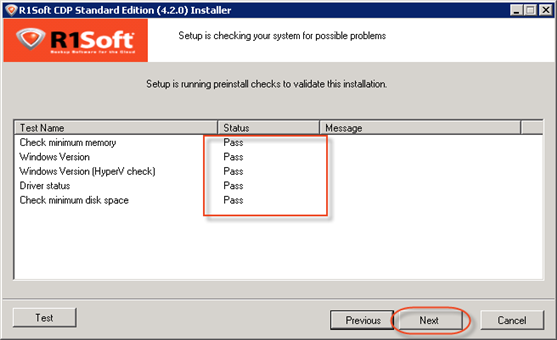
| Note You can find the full list of requirements here: http://www.r1soft.com/windows-cdp/cdp-standard-edition/requirements/. |
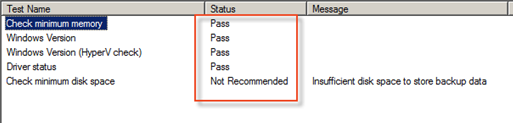
| Note If one or several requirements are not met, then an explanation will be displayed in the "Message" column. If this happens, further installation is not recommended on this configuration. There are three possible values for the "Status" column: "Pass," "Not Recommended," and "Fail." If possible, correct the configuration and click "Test." |
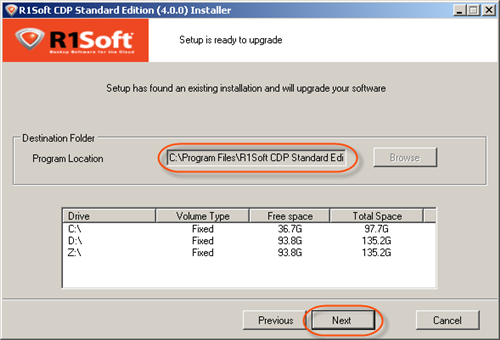
10. On the next screen, verify that there is free space on the drive where the CDP Server is installed. During the upgrade, you cannot change the installation directory for the server. Click "Next" to continue.
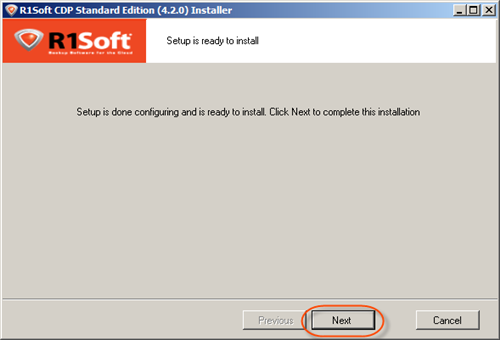
11. The configuration is complete. Click "Next" to start the upgrade process.
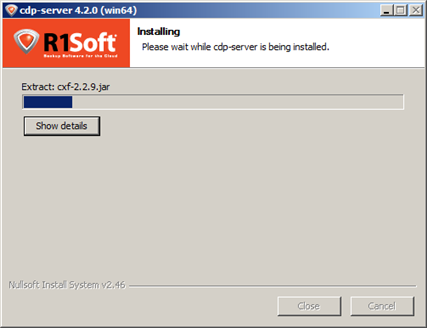
12. The upgrade process will start.
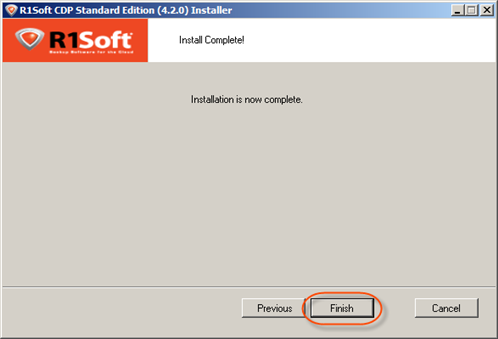
13. Install is now complete. Click "Finish."
| Note On upgrade, Task History for completed tasks will be purged. This change fixes several memory issues with the server. |
A Full Block Scan will be initiated after an Agent upgrade due to a restart of the Agent service/daemon. This ensures replicas are consistent even after a server crash or reboot. For more information or to better understand backup types, see Benefits of CDP.