The Console Configuration page allows you to customize the Console's SSL and HTTP settings, set the thresholds for Dashboard statuses, manage the SMTP protocol, and define other settings.
Accessing Console Configuration
Follow the instructions below to access Console Configuration.
1. Select "Configuration" from the Main Menu.
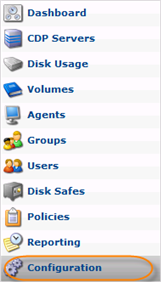
2. You will enter the Configuration screen.

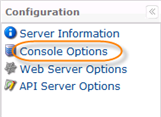
3. The following Configuration pages are available in the left menu:
- Server Information
- Console Options
- Web Server Options
- API Server Options
Viewing Server Information
1. Once the "Configuration" menu is selected in the Main Menu, click "Server Information" in the top left menu.

2. The "Server Information" page opens.
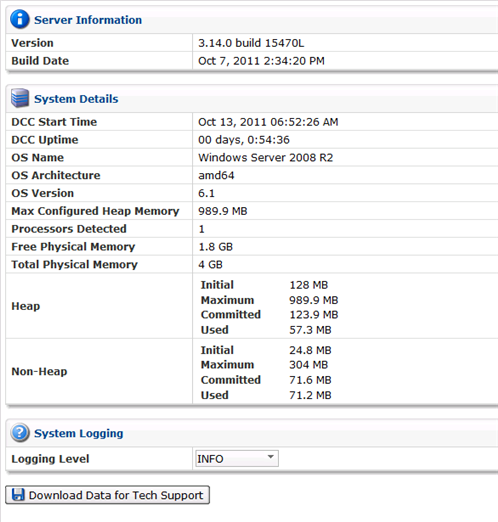
3. Here you can:
- View the server version and build date;
- View your system details;
- Configure the system logging level;
- Download the data for tech support
The following fields are provided:
Server Information
- Version
- Build Date
System Details
- DCC Start Time
- DCC Uptime
- OS Name
- Os Architecture
- OS Version
- Max Configured Heap Memory
- Processors Detected
- Free Physical Memory
- Total Physical Memory
- Heap
- Non-Heap
System Logging
- Logging Level - You can select the following values:
- DEBUG - Designates fine-grained informational events that are most useful to debug an application. Debug logging can be turned on/off on the fly. No restart needed.
- INFO - Designates informational messages that highlight the progress of the application at coarse-grained level.
- Download Data for Technical Support- This button allows to download configuration and log files. Read more in Downloading Data for Technical Support.
Setting Console Options
1. Once the "Configuration" menu is selected in the Main Menu, click "Console Options" in the top left menu.
2. The "Console Options" page opens.
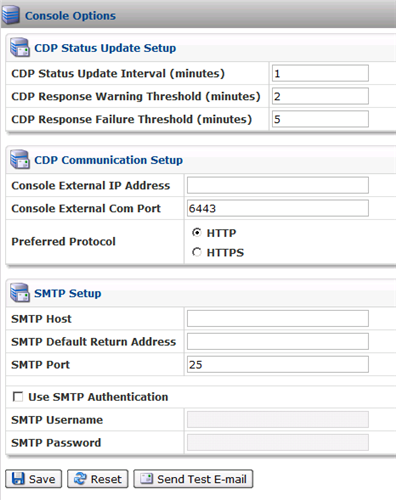
3. You can configure the following options:
CDP Status Update Setup
- CDP Status Update Interval (minutes) - Specifies the frequency (number of minutes) to receive status updates of registered CDP Servers. The Dashboard displays information on the status. By default, the system automatically refreshes CDP status in the background every minute.
- CDP Response Warning Threshold (minutes) - If the CDP Server does not respond within the specified time period, the "Warning" state is displayed on the Dashboard.
- CDP Response Failure Threshold (minutes) - If the CDP Server does not respond within the specified time period, it is marked as "Offline" on the Dashboard.
CDP Communication Setup
- Console External IP Address - Console Server's IP address (host name.)
- Console External Com Port - Console Server's IP port.
- Preferred Protocol - Set the preferred protocol used to communicate with CDPs. You can set it to either HTTP or HTTPS.

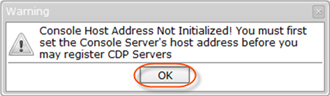
Note
Before adding any CDP Servers, set the Console External IP Address and Port in Console Options. Otherwise you will receive this warning message:
Tip
All ports used are visible in DCC and CDP configuration sections.
SMTP Setup
The following options are used for Email Reporting:
- SMTP Host - The name of the SMTP host used to deliver email reports.
- SMTP Default Return Address - The email address to which bounce messages will be sent. The return address is not normally visible in message headers.
- SMTP Port - The defined value will overwrite default SMTP port.
- Use SMPT Authentication - Optionally, check the box to activate the SMTP authentication. In case you choose this option, you need to define the following fields:
- SMTP Username - Define the username for SMTP authentication.
- SMTP Password - Define the password for SMTP authentication.
4. Click "Save" to apply the changes.
You can send a test email by clicking the "Send Test E-mail" button.
Configuring Web Server Options
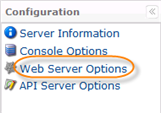
1. Once the "Configuration" menu is selected in the Main Menu, click "Web Server Options" in the top left menu.
2. The "Web Server Options" page opens.
3. You can configure the following options:
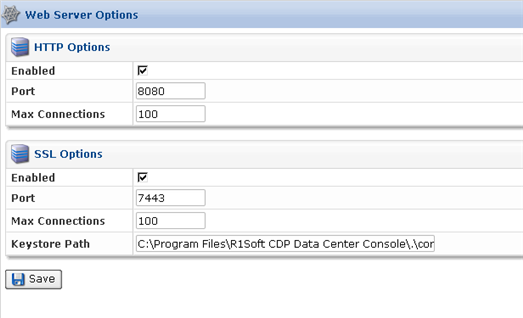
HTTP Options
- Enabled - Select the checkbox to enable HTTP.
Note
Disabling HTTP requires all Users to access the CDP Server with a URL starting with HTTPS and using a SSL connection. - Port - Enter the port to which the HTTP Server will listen. Default port is 8080.
- Max Connections - Define the largest simultaneous number of user connections via HTTP protocol. Default value is 100.
SSL Options
- Enabled - Select the checkbox to enable the HTTPS connection.
Note
If the "Enabled" checkbox is unselected, then the connection via HTTPS protocol is blocked. - Port - Enter the port to which the HTTPS Server will listen. Default port is 7443.
- Max Connections - Define the largest simultaneous number of user connections via HTTP protocol. Default value is 100.
- Keystore Path - Contains the full path of the file with the key.
4. Click "Save" to apply the changes.
Configuring API Server Options
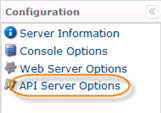
1. Once the "Configuration" menu is selected in the Main Menu, click "API Server Options" in the top left menu.
2. The "API Server Options" page opens.
3. You can configure the following options:
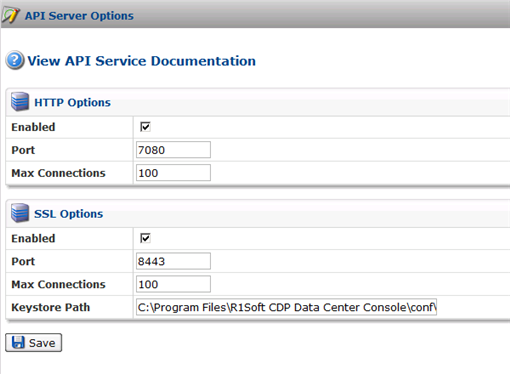
HTTP Options
- Enabled - Select the checkbox to enable HTTP for API Server.
- Port - Enter the port to which the API HTTP Server will listen in the provided text box. Default port is 7080.
- Max Connections - Define the largest simultaneous number of API connections via HTTP protocol. Default value is 100.
SSL Options
- Enabled - Select the checkbox to enable the HTTPS connection for the API Server.
- Port - Enter the port to which the API HTTPS server will listen in the text box. Default port is 8443.
- Max Connections - Define the largest simultaneous number of API connections via HTTPS protocol. Default value is 100.
- Keystore Path - Contains the full path of the file with the SSL key.
4. Click "Save" to apply the changes.
| Note You can access the database with the description of all APIs. Click the link at the top of the page. 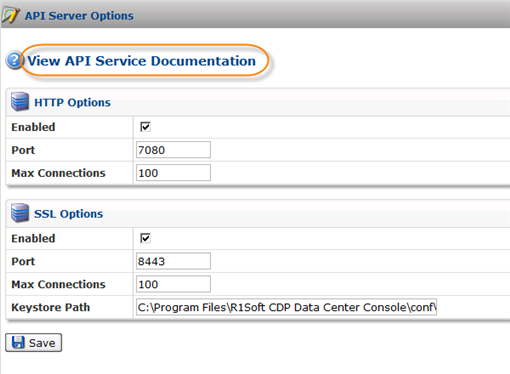 |