| Tip You can see the date and time when the Policy was edited in the Last Edited On column in the Policies list. |
Follow the instructions below to edit a Policy in CDP.
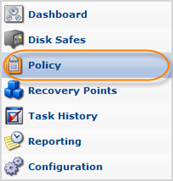
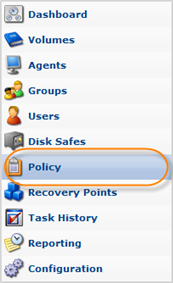
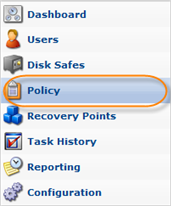
1. Click on Policy in the Main Menu to access the Policies page.
| Standard Edition | Enterprise Edition | Advanced Edition |
|---|---|---|
 |
 |
 |
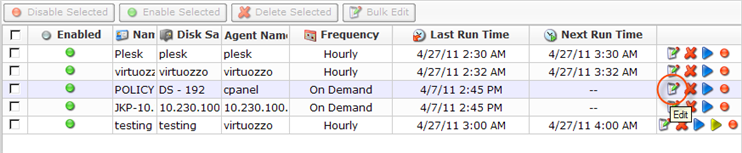
2. Find the necessary Policy in the Policies list and click on the Edit icon in the Actions column for this Policy.
| Tip To find a Policy, you can use the Basic and Advanced List Filters. See Customizing the Policies List. |
| Note You can also use the Bulk Edit function. See Bulk Editing below. |
3. The Edit Policy window will open.
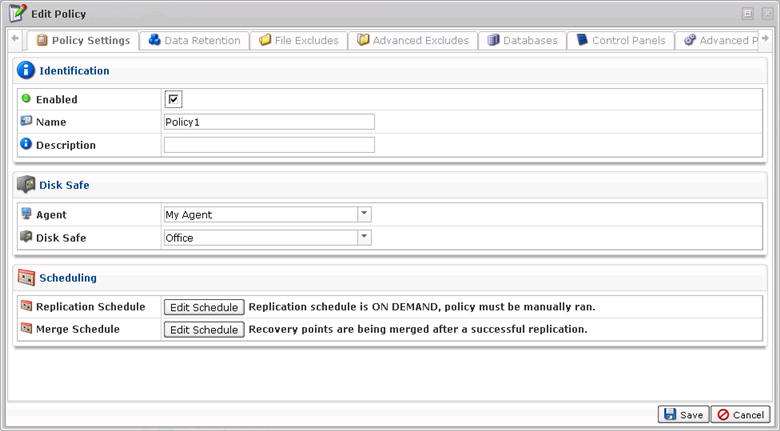
The following tabs are available for editing:
Policy Settings Tab
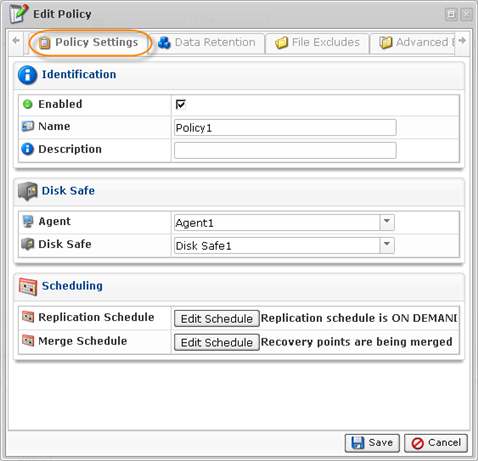
This tab allows you to change the following settings:
- Name
- Description
- Agent (Enterprise Edition)
- Disk Safe
- Replication Schedule
- Merge Schedule
The options are described in Creating Policies.
Data Retention Tab
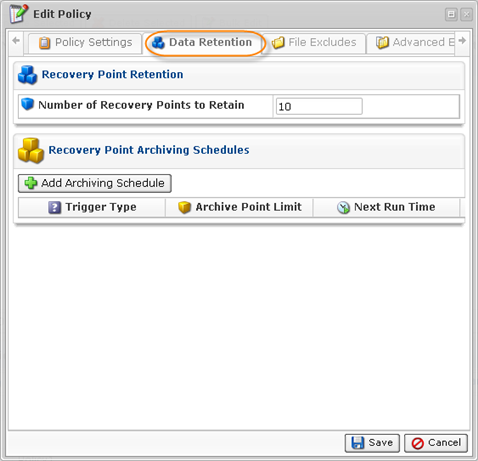
This tab allows you to set the Retention rules and define the Archiving Schedule.
See Defining the Archive Schedule.
File Excludes Tab
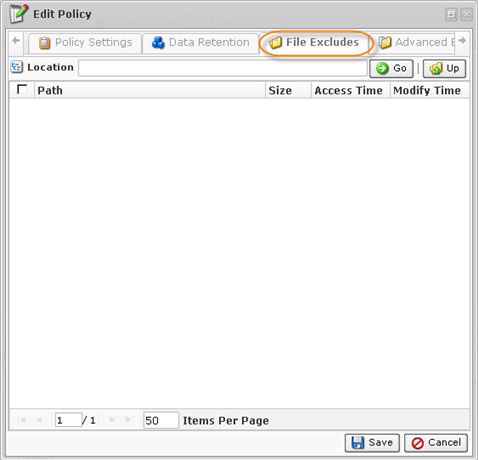
This tab allows you to select the files you want to include or exclude from the Replication.
See Excluding Files and Folders.
Advanced Excludes Tab
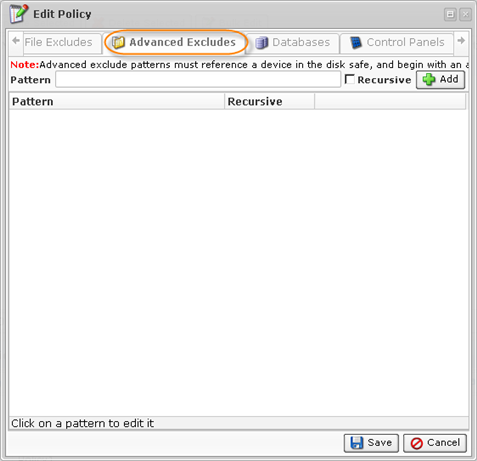
This tab allows you to define patterns according to which the files will be excluded from the Replication.
See Excluding Files and Folders.
Databases Tab
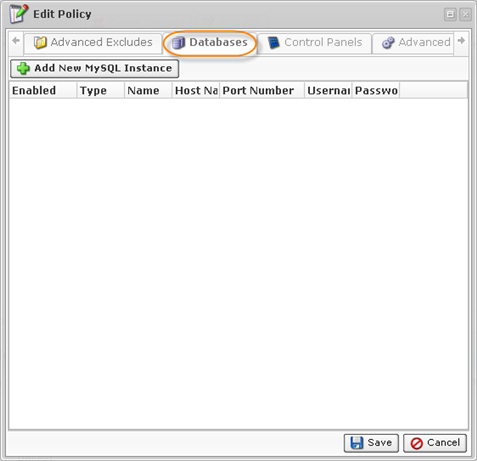
This tab allows you to add a MySQL instance to the Policy.
See Adding MySQL Instance to the Policy.
Control Panels Tab
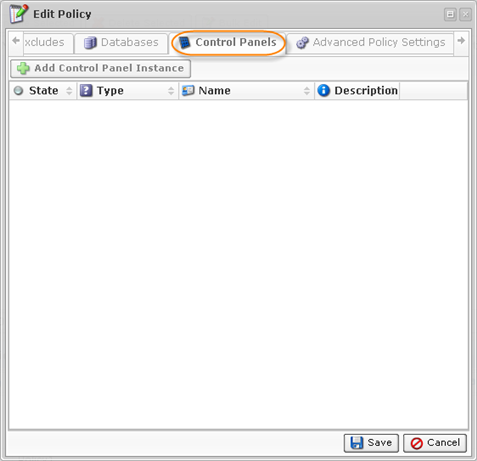
This tab allows you to add a Hosting Control Panel instance to the Policy.
See Adding Control Panel Instances.
Advanced Policy Settings Tab
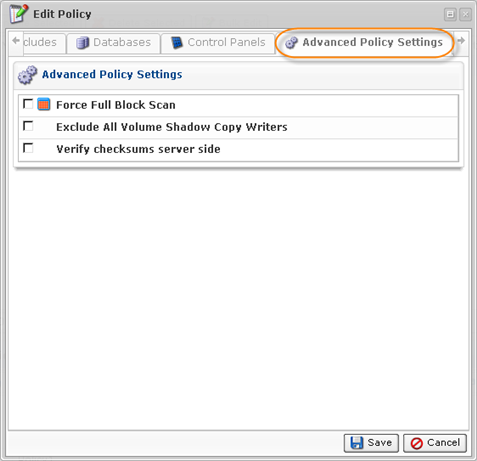
This tab allows you to change advanced Policy settings.
See Creating Policies.
4. Click on "Save" at the bottom of the window to apply the changes.

5. The changed options will be shown in the Policies list.
Bulk Editing
Using the Bulk Editing, you can edit multiple Policies at once. The same values will be set for all selected items. You can use the bulk editing even if the Policies have different properties. Follow the instructions below to edit several Policies at once.
1. Select several Policies by selecting the checkboxes in the first column in the "Policies" list and click "Bulk Edit."

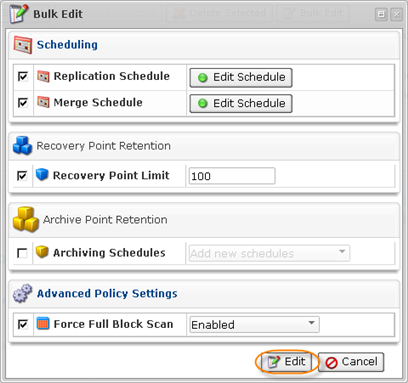
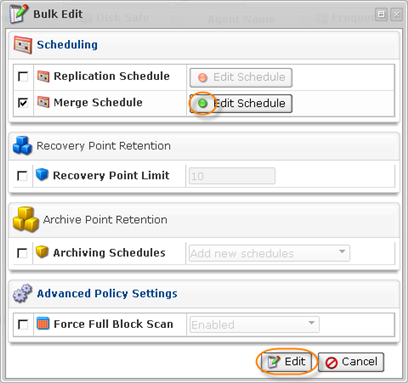
2. The "Bulk Edit" window opens.

The following parameters can be edited:
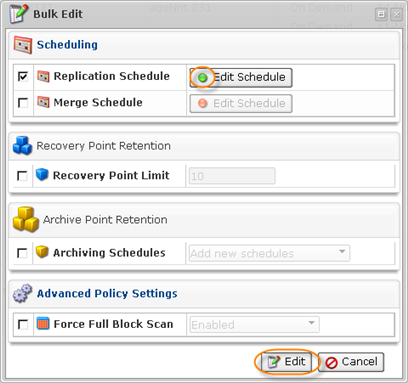
Scheduling
- Replication Schedule - This option allows you to set the replication schedule. See Editing Replication Schedule below.
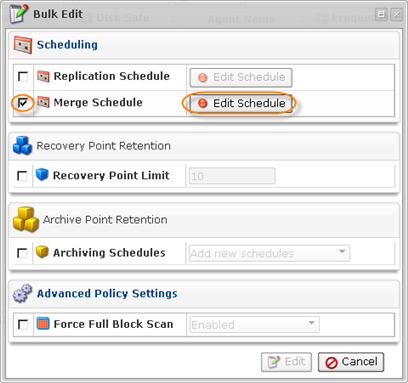
- Merge Schedule - This option allows you to set the merge schedule. See Editing Merge Schedule below.
Recovery Point Retention
- Recovery Point Limit - Enter a value to the field to define the Recovery Points Limit according to the Volume's Maximum Allowed Archive Retention. When the number of created Recovery Points exceeds the limit, they will be merged. For more information, refer to Merging Recovery Points.
Archive Point Retention
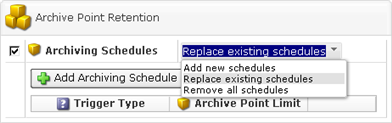
- Archiving Schedule - This option allows you to set the archiving schedule.
Here you can select the following variants from the drop-down menu:- Add New Schedule - Creates a new archiving schedule. Several different schedules (e.g. hourly, daily, weekly) can be applied at the same time.
- Replace Existing Schedule - Replaces existing schedules with created ones.
- Remove All Schedules - Removes all schedules.
For more information about Archiving schedules, refer to Defining the Archive Schedule.
Advanced Policy Settings
- Force Full Block Scan - A Full Block Scan compares the MD5 sum of all allocated blocks to perform the backup and get CDP back in synchronization. Enable this option to start a Full Block Scan each time the replication is performed.
3. Click "Edit" to apply the changes to all selected Policies at once.
4. If all Policies were edited successfully, the following indicator will appear:

5. The changed options will be shown in the "Policies" list.

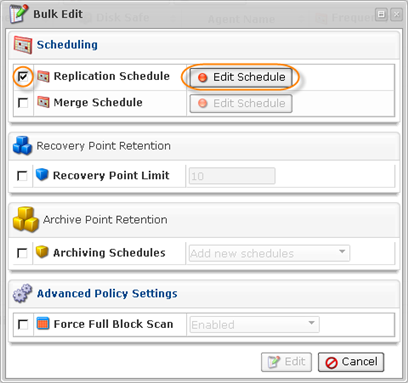
Editing Replication Schedule
1. To start editing Replication Schedule, select the corresponding checkbox and click "Edit Schedule."
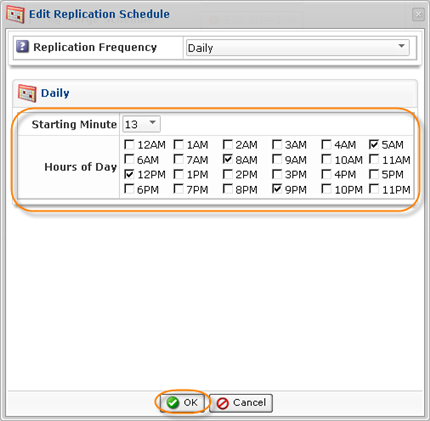
2. Select the replication frequency from the drop-down menu.
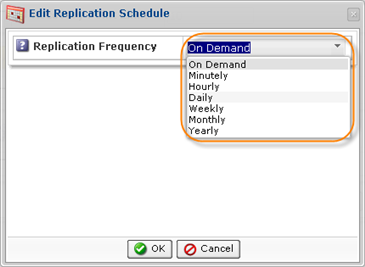
The following options are available:
- On Demand
- Minutely
- Hourly
- Daily
- Weekly
- Monthly
- Yearly
You can find the detailed description of replication frequencies here.
3. Specify the exact time of the Replication and click "OK."
4. The schedule is defined (the indicator turns green). Click "Edit" to save the changes.
Editing Merge Schedule
1. To start editing Merge Schedule, select the corresponding checkbox and click "Edit Schedule."
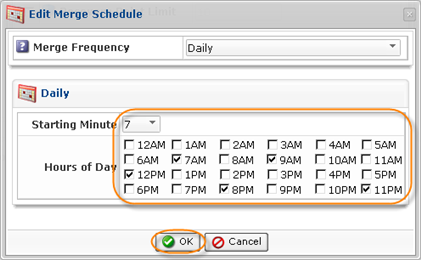
2. Select the merge frequency from the drop-down menu.
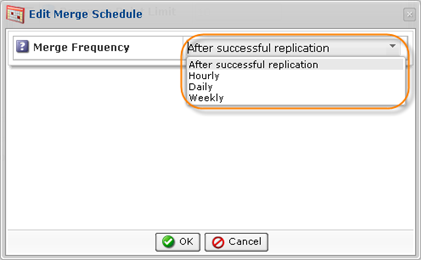
The following options are available:
- After successful replication
- Hourly
- Daily
- Weekly
You can find the detailed description of merge frequencies here.
3. Specify the exact time of the Merge and click "OK."
4. The schedule is defined (the indicator turns green). Click "Edit" to save the changes.
You can also edit Policies using the "Policies" tab of the Agent "Details" Pane. This screen provides the same functionality as the main "Policies" screen. See more information in Accessing Agents.