Follow the instructions below to restore file(s)/folder(s) from Archive Points in CDP.
1. Click on "Recovery Points" in the Main Menu to open the "Recovery Points" window.
| Advanced Edition | Enterprise Edition |
|---|---|
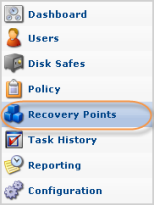 |
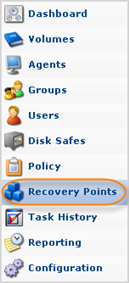 |
2. Enterprise Edition: select an Agent from the drop-down menu located on the "Recovery Points" list toolbar.

3. Select a Disk Safe from the drop-down menu located on the "Recovery Points" list toolbar.
| Advanced Edition |  |
|---|---|
| Enterprise Edition |  |
4. Select the "Archive Points" tab.

5. In the "Archive Points" list, find an Archive Point and click on the "Browse" icon in the "Actions" column for this Archive Point.

| Tip To find an Archive Point, you can use the List Filter. See Customizing the Archive Points List. |
6. The "Browse Archive Point" window will open.
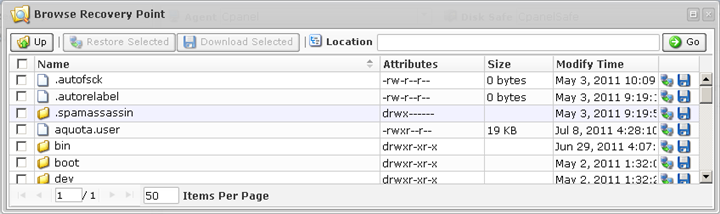
7. Using the CDP Server web interface, browse the files and folders contained in the Archive Point.
| Tips The built-in file browser functions like the Windows Explorer. |
8. Select the check-boxes next to the files and folders you want to restore and click "Restore Selected."
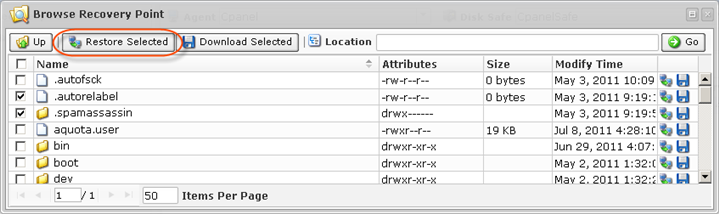
9. The "Restore Files" window will open.
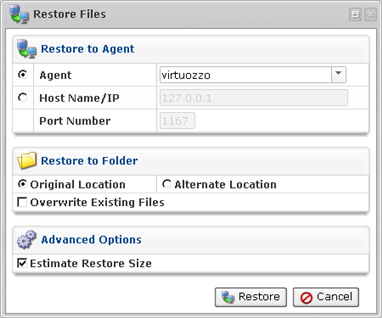
Specify the following options:
Restore to Agent
- Agent - Select this option to restore to an Agent already added to the system. Connects to the Agent name and uses the configured port.
- Host Name/IP - Connect to the specified Host Name and port. This option allows you to Restore to a Host with a Host Name/IP address different than the original Host.
- Port Number - Used together with the Host Name/IP.
Restore to Folder
- Original Location - Restores files to the same directories from where they were copied.
- Alternate Location - Restores files to an alternate location. After selecting this option, you should specify the path on the Host where files will be restored. If the specified path does not exist, it will be created.
- Overwrite Existing Files - When enabled, any existing files or directories with the same name will be overwritten even if they are newer.
Advanced Options
- Estimate Restore Size - Enabled by default. Allows you to see the additional "Estimated Restore Size" and "Estimated Object Count" values in the "Reporting" page - "Summary" tab - "Restore Status" area.
10. After you have selected the necessary options, click "Restore."

11. A notification window will inform you that the Restore task has been scheduled. It means the Task has started. The "Reporting" screen displays the progress of the Task. Click "OK."
| Tip The Task results can be sent via Email as a Report. See Reporting. |
12. To view the Restore Task details, access the "Reporting" window. See Accessing Task History.