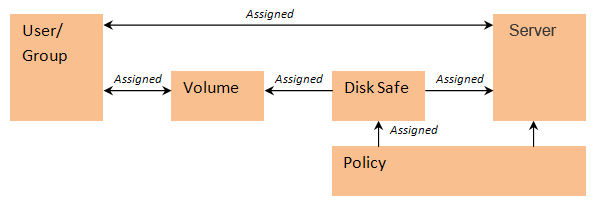
By assigning Users/Groups to a Volume, you give them permission to use the resources of that Volume. To provide access to Disk Safes, the User/Group must be assigned to the Volume where the Disk Safes are kept.
| Note If you have Disk Safes not assigned to any Volume, then Normal Users will not access this Disk Safe, but the Disk Safe's Policies/Tasks will be available to them. |
The Normal User assigned to the Volume does not see the "Volumes" folder in the Main Menu. But depending on the permissions, the User/Group may access/manipulate the following objects relating to the Volume:
- Servers (assigned to the Volume's Disk Safe)
- Disk Safes for Server (the Disk Safes are assigned to the Volume)
- Policies for Server (the Policies are assigned to the Volume's Disk Safe)
- Server's Recovery Points (the Server is assigned to the Volume's Disk Safe)
- Server's Users and Tasks
The following scheme visually presents relations between objects in the system:
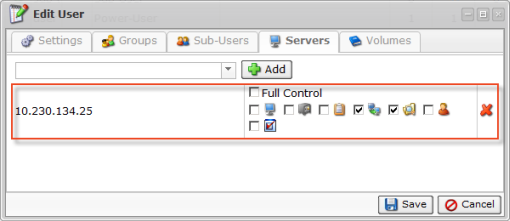
| Tip Make sure the assigned Users/Groups have the necessary Servers assigned. Otherwise, the Users/Groups cannot access data relating to the Volume and these Servers.
|
| Notice To assign Users to a Volume, you must be a Super User. |
| Note The User to which you want to assign the Volume must already be created. |
You can assign Users/Groups to the Volume while creating the Volume or after it exists in the system. And you can assign Volumes to a User in the User's properties window while creating or editing a User.
You can see assigned Users/Groups in the Volume properties window and in the "Details" pane located on the bottom of the "Volumes" screen. You can see Volumes assigned to the User in the User's properties window and on the bottom of the "Users" screen.
Follow the instructions below to assign Users/Groups to an already created Volume.
1. Click "Volumes" in the Main Menu to access the "Volumes" page.
2. In the "Volumes" list, find the Volume you need and click on the "Edit" icon in the "Actions" column for this Volume.

| Note To find a Volume, you can use the Basic and Advanced List Filters. See Customize the Volumes list. |
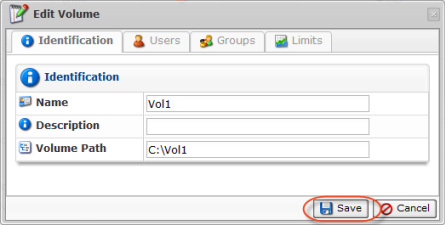
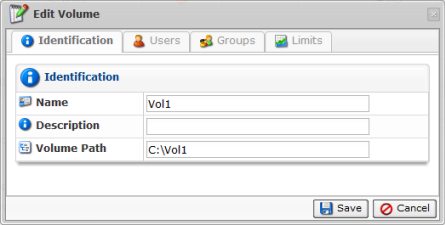
3. The "Edit Volume" window will open.
4. To assign Group(s) to the Volume, switch to the "Groups" tab.
![]()
Select a Group name from the drop-down menu and click on the "Add" icon.

| Note If you need to remove an assigned group from the Volume properties window, click on the "Delete" (red X) icon in front of the group. |
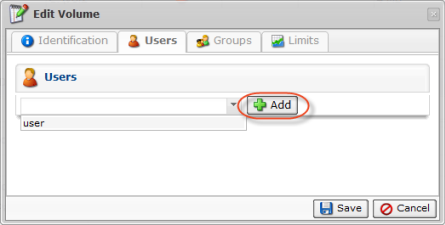
5. To assign User(s) to the Volume, switch to the "Users" tab.
![]()
Select a User name from the drop-down menu and click on the "Add" icon.
| Note If you need to remove an assigned user from the Volume properties window, click on the "Delete" (red X) icon in front of the user. |
6. Click on "Save" to save the changes.