Manage archiving options can be defined for the new Policy or they can be added to an already existing one. Follow the instructions below to specify archiving options while creating a new Data Protection Policy in Server Backup.
1. Click Policy in the Main Menu to open the Policies window.
2. In the Policy menu, click on Create New Policy.
3. The Create New Policy window will open.
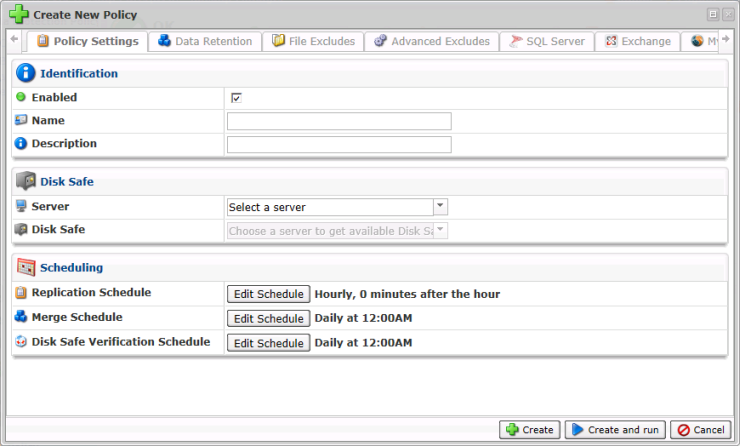
4. Define the name and description (optional) of the new Policy.

5. Select the Server from the drop-down menu.

6. Select the Disk Safe from the drop-down menu.

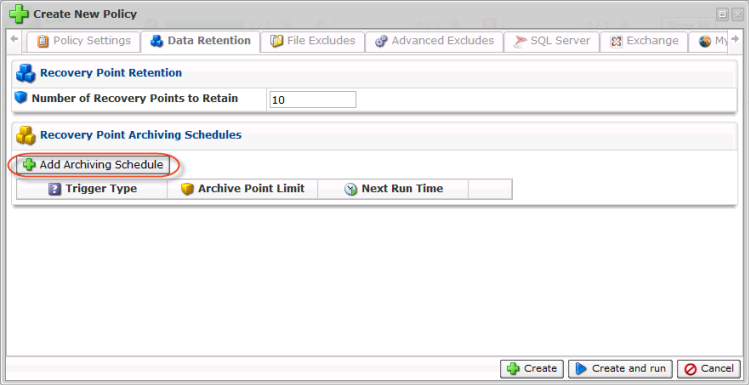
7. Go to the Data Retention tab to set the scheduling for the creation of Archive Points.

8. Click on the Add Archiving Schedule button.
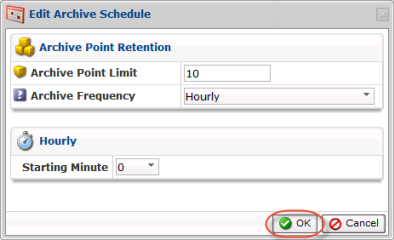
9. The "Edit Archive Schedule" window will appear.

The following options can be set here:
- Archive Point Limit - Indicates the number of stored Archive Points. After exceeding this number, the old Archive Points will subsequently be replaced by the new ones.
- Archive Frequency - The type of archiving schedule. Can be hourly, daily, weekly, monthly, and yearly.
- Starting Minute - Depending on the Archive Frequency selected, it will allow you to set the specific time for the archiving process.
10. Click the "OK" button in the "Edit Archive Schedule" window.
11. Then click the "Create" button.

| Note You can also run the policy immediately by clicking the "Create and run" button.
|

12. The policy will be created and added to the Policies list.

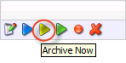
13. The yellow icon in the Actions column indicates that archiving is assigned to that policy. Archiving can start according to the defined schedule or can be launched manually by clicking the icon.
14. After the Recovery Point has been archived, you will see an icon in the Recovery Points List in the Archived column.

For more information about the Backup Manager Policy, see Manage policies.