You can restore a MySQL database by following the instructions below in your Server Backup Manager.
| Note MySQL database tables can be restored simultaneously; this is implemented by using multiple threads. |
1. Click "Recovery Points" in the Main Menu to open the "Recovery Points" window.
2. In the "Recovery Points" list, select a Recovery Point containing the necessary database replication.
| Tip To find a Recovery Point, you can use the Basic and Advanced List Filters. See Customize the Recovery Points list. |
Click on the "Browse Databases" icon in the "Actions" column for this Recovery Point.
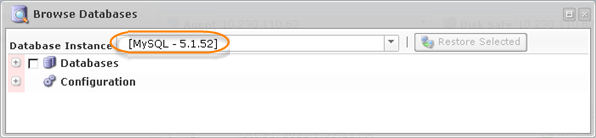
3. The "Browse Databases" window opens. Select a database instance from the drop-down menu.
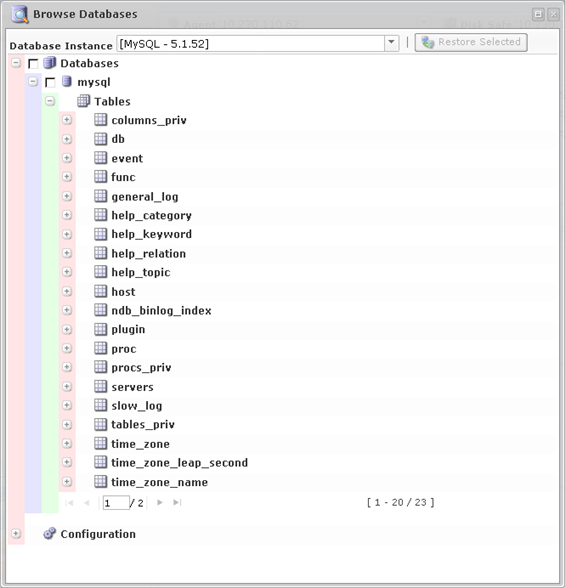
4. You can browse the instance by clicking the "+" icon.
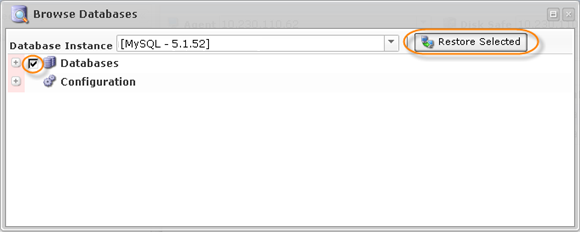
5. Select the database you want to restore, and click "Restore Selected."
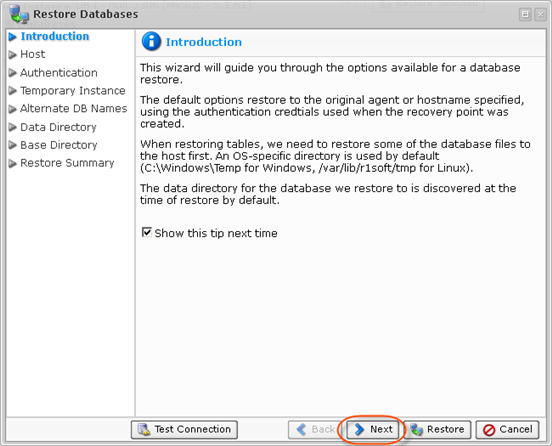
6. In the "Restore Databases" wizard window, define the options for the restore.
On the first screen, familiarize yourself with the introductory information, and click "Next" to proceed.
7. On the "Host" screen, you have two options for selecting the host to restore to:
- Restore to Original Host - If you select this option, the restore will be made to the Server where the source database was located. If the database exists, it can be overwritten.
- Restore to Alternate Server - Select a destination Server that is in the system. Specify the database host and port. See Restore a MySQL database to an alternate location.
In our example, we select the "Restore to Original Host" option. For information about restoring to an alternate Server, refer to Restore a MySQL database to an alternate location.
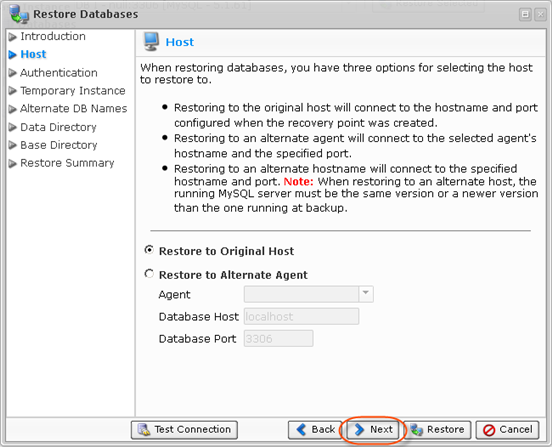
Select an option, and click "Next" to proceed to the following step.
8. On the "Authentication" screen, you have two options to specify to connect to the database.
- Use Original Authentication Credentials - Connects using the default username and password used to back up the database instance.
- Specify Alternate Authentication Credentials - Allows you to set a username and password different from the default ones. The user must have full administrator-level access to the database instance you are going to restore.
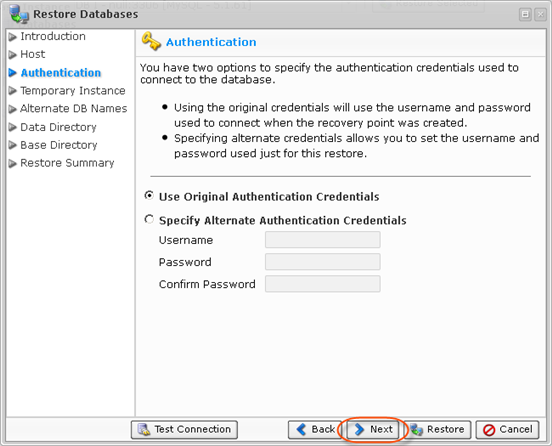
Select an option and click "Next" to proceed to the following step.
9. Next is the "Temporary Instance" screen.
When restoring tables, the system needs to create a temporary directory on the target Server for the restore. There are two options for this:
- Use Default Temp Directory - Creates a directory in an OS-specific default location (C:\Temp for Windows, /tmp for Linux).
- Specify an Alternate Temp Directory - Allows you to control exactly where the temp directory is created on the Server.
This screen also allows you to specify the Virtuozzo Container ID (optional) and input the Connection Information.
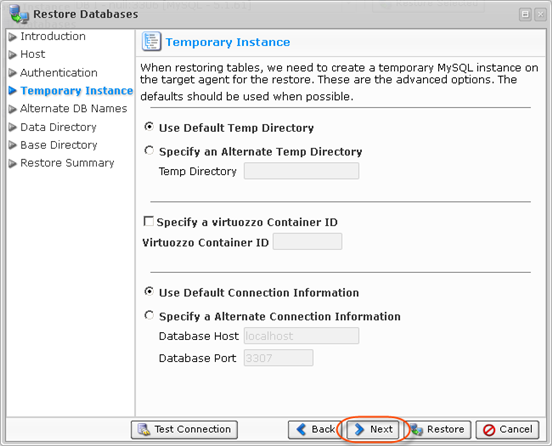
Select an option, and click "Next" to proceed to the following step.
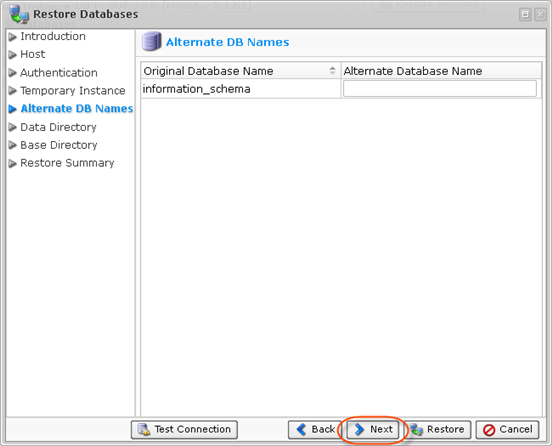
10. Optionally, define an alternate database name for any of the selected DBs for restore as a new step in the "Restore Databases" wizard. If a DB with the new name already exists, that DB restore will fail and alert the policy.
11. The following screen is "Data Directory." By default, the database configuration retrieved during discovery is used. In some environments, this path does not point to the actual location on the filesystem for the data. To remedy this, you can choose to specify the exact path for the data directory. This will ensure that the system can locate the data files for the database during the restore.
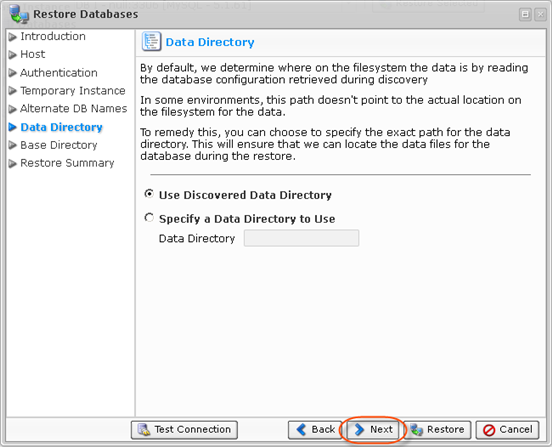
Select an option, and click "Next" to proceed to the following step.
12. The next screen is "Base Directory." By default, the system automatically determines where on the filesystem the necessary program files are located. In some environments, the automatic method fails. To remedy this, you can specify the exact path for the base directory.
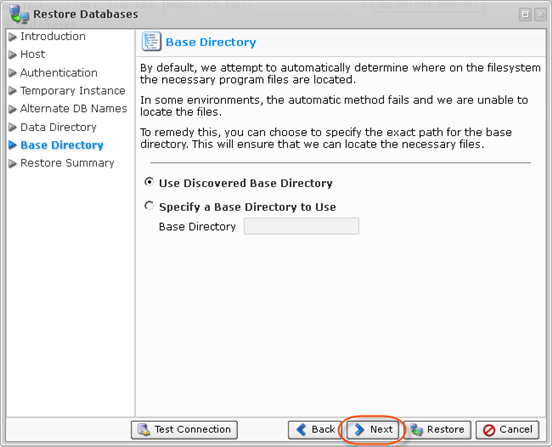
Select an option, and click "Next" to proceed to the following step.
13. On the last "Summary" screen, the settings you have selected are listed.
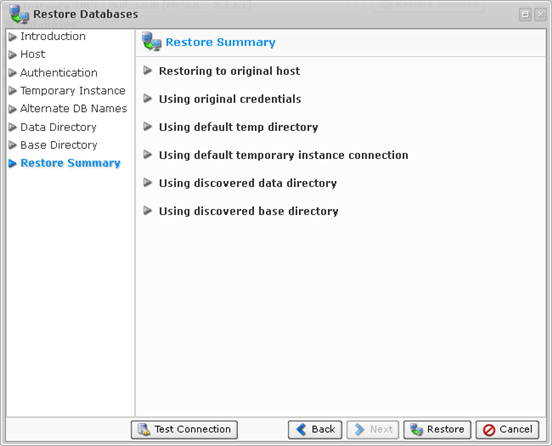
13. Once you have verified that the specified settings are correct, click "Restore." The restore process will start immediately.

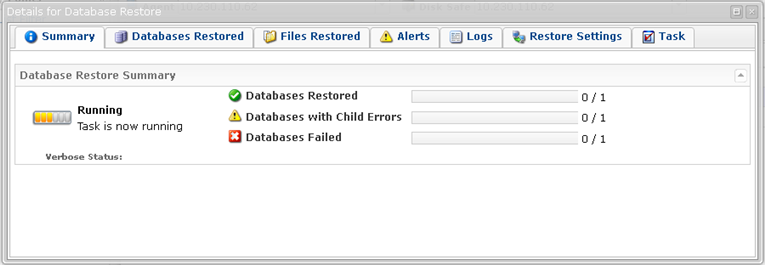
14. The "Details for Database Restore" window will appear. It indicates that the restore process is launched. You can watch the progress in real time.