| Notice For Server Backup 5.2.x and later, you must upgrade the components in the following order or your backups may fail:
|
You may be informed by email when a new version of software is released. New versions are improved by bug fixes and new/reworked functionality. All enhancements made to the product are documented in the Release Notes. Release Notes usually contain a brief summary of recent changes, enhancements, and bug fixes in a particular software release.
| Note Windows installers support English, Japanese, and Spanish. End users cannot add install support for additional languages. Language chosen during the install DO NOT become the Server Backup Manager default user language. |
First, obtain the latest version of the Server Backup Manager installer. Then access the computer on which the current version of the Backup Agent is installed. You must already have a PC running Windows Backup Agent 4.x or an earlier version.
While upgrading, the following information may be useful:
- To upgrade Server Backup Manager, you do not need to uninstall the previous version.
- It is recommended that you close all other applications before starting Setup. This will make it possible to update relevant system files without having to reboot your computer.
To upgrade the Windows Backup Agent to the latest version:
- Log on to the Windows server as a member of the local Administrators group.
- Navigate to the directory where you saved the Server Backup Manager installation file. The installer will have the following attributes:
- For a 32-bit system, use the file: ServerBackup-Enterprise-Agent-win32.zip
- For a 64-bit system, use the file: ServerBackup-Enterprise-Agent-win64.zip

Note
Except for the Free version, the installer package is capable of installing or upgrading both Backup Manager and Agent software. The Agent installer package contains only the Agent software and is a much smaller package.
- Extract the file from the archive by clicking Run to execute the installer.
- In the Welcome window, select a destination folder, and then click Install.
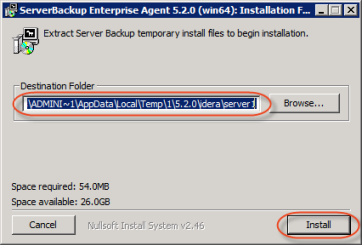
- Wait while the files are extracted.
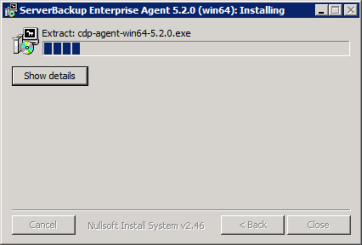
- Click Install Backup Agent in the opened window.

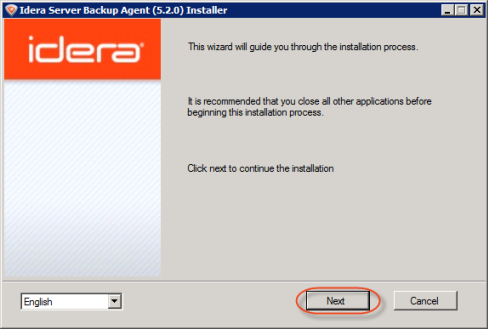
- Backup Agent Installer will open. Click Next.
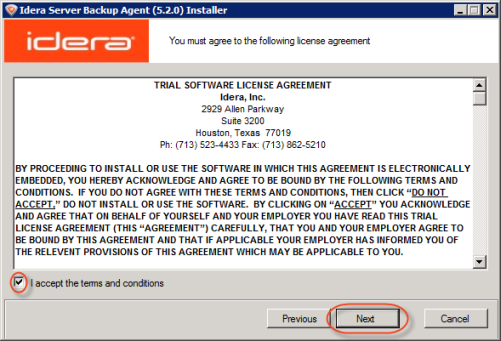
- You must agree to the following license agreement. Read it to the end, click I accept the terms and conditions, and then click Next to proceed.
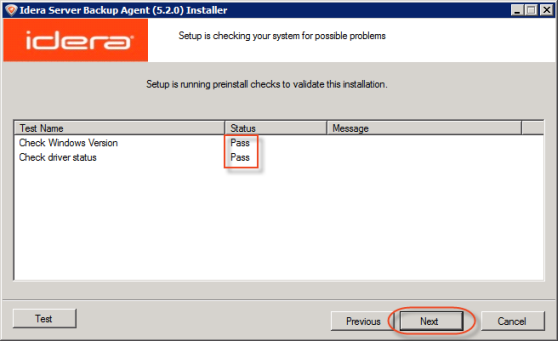
- The installer will check your system for possible problems. It is strongly recommended that all tests have a "Pass" status. You can repeat the tests by clicking Test. Click Next to continue.

Note
You can find the full list of requirements at Server Backup Manager System Requirements.
Note
If one or several requirements are not met, then an explanation will be displayed in the "Message" column. If this happens, further installation is not recommended on this configuration.
There are three possible values for the "Status" column: "Pass," "Not Recommended," and "Fail."
If possible, correct the configuration and click "Test" again. - On the next screen, verify that there is free space on the drive where the Backup Agent is installed. Click Next to continue.

Note
During the upgrade, you cannot change the installation directory for the Agent.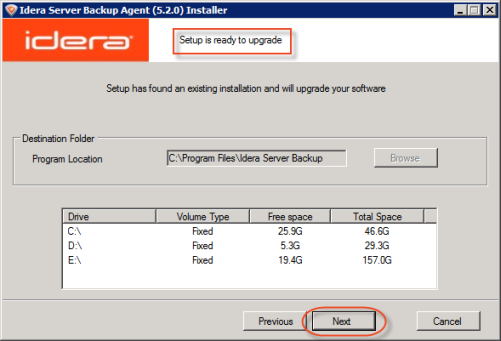
- The configuration is complete. Click "Next" to start the upgrade process.
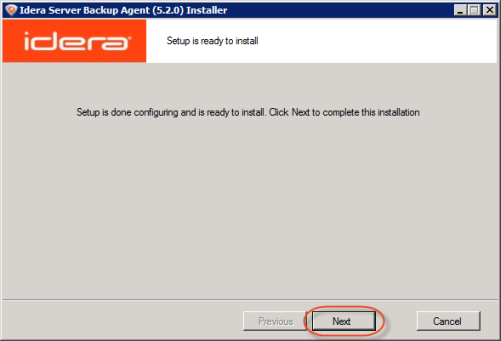
- The upgrade process will start.
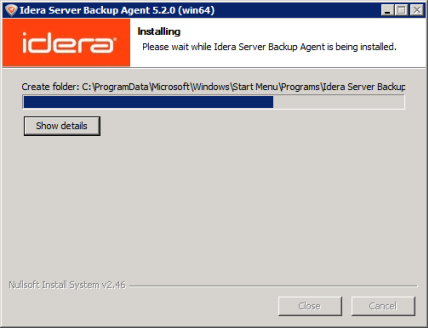
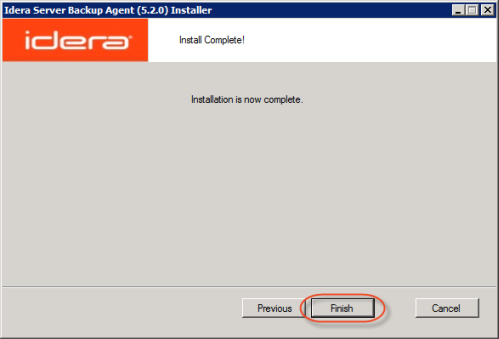
- The upgrade process is complete. Click "Finish."
A Full Block Scan will be initiated after a Backup Agent upgrade due to a restart of the Agent service/daemon. This ensures that replicas are consistent, even after a server crash or reboot.
