| Tip As an alternative to using the Databases Add-on, you can restore a database's MDF and LDF files using the File Restore function, and then issuing an "Attach Database" query. |
You can restore an MS SQL Server database or databases to an alternate location by following the instructions listed below in your Server Backup Manager.
| Note MySQL database tables can be restored simultaneously; this is implemented by using multiple threads. |
1. In the Main Menu, click Protected Machines. On the Protected Machines screen, click the Actions icon for a corresponding protected machine and select Open Recovery Points.
The Recovery Points window displays.
2. In the Recovery Points window, find the recovery point containing the necessary database replication, click the corresponding Actions icon, and select Browse Databases.
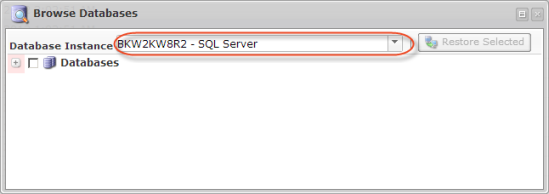
The Browse Databases window displays.
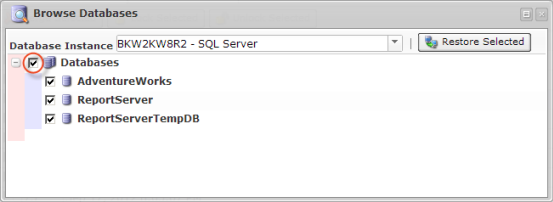
3. Select a database instance from the drop-down menu.
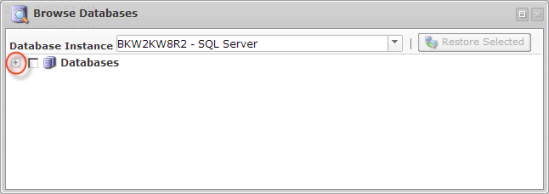
4. You can browse the instance by clicking the "+" icon.
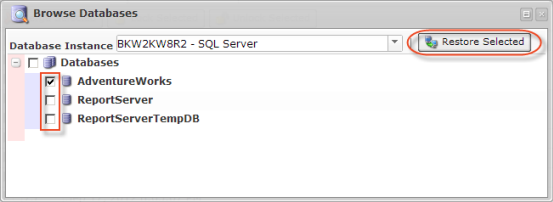
5. Select the database you want to restore, and click "Restore Selected".
| Notice The system databases master, msdb, model, and tempdb are not displayed in the "Restore Databases" wizard. To restore these databases, use the Perform a bare-metal restore function. |
| Tip To be able to restore an alternate database, do not check the "Databases" box. Instead, select the desired databases by clicking the check-box next to each database you want to restore. See also: MS SQL Server Restore with Alternate Name. |
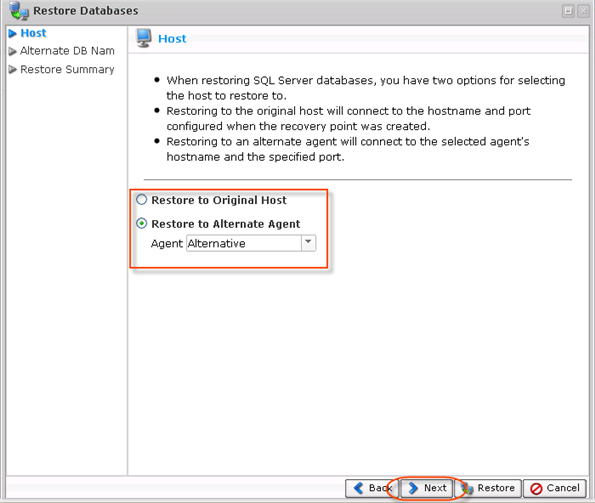
6. In the displayed "Restore Databases" wizard window, define the options for the restore.
- Restore to Original Host - If you select this option, the restore will be made to the Server where the source database was located. If the database exists, it can be overwritten.
- Restore to Alternate Agent - Select a destination Server that is in the system. Specify the database host and port.
In our example, we select the "Restore to Alternate Agent" option to connect to the selected Server's host name and the specified port.
Click "Next" to proceed to the following step.
7. On the "Alternate DB Names" screen, you may optionally define an alternate database name for any of the selected databases for restore as a new step in the "Restore Databases" wizard. If a database with the new name already exists, that restore will fail and will alert the Policy.
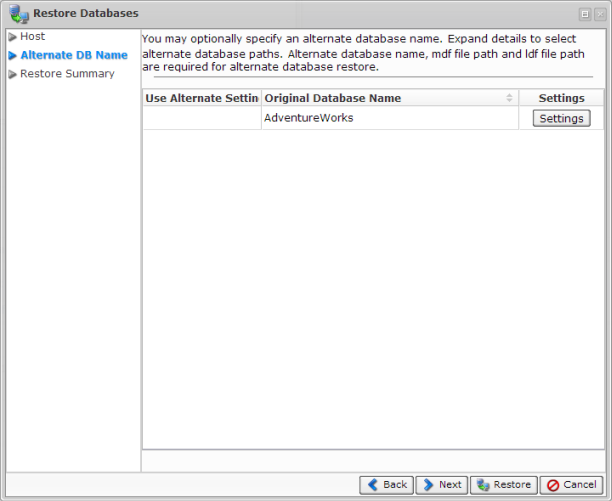
Click the "Settings" button to specify an Alternate Settings.
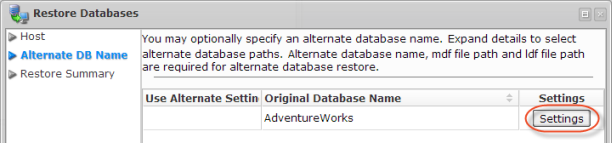
| Note The "Settings" button is not available if you previously checked the "Databases" check-box. In this case click the "Next" button and go to the 8 paragraph below.
|
The "Alternative Settings" window will be opened.

In the "Alternative Settings" window specify the following options:
- Use Alternative Settings - check this check-box to enable an Alternate Settings.

| Note Once the "Use Alternative Settings" option has been checked, the Alternative Database Name and Paths should be obligatory entered. Otherwise the warning message will appear. |
- Alternative Database Name - enter a different name for a database you want to restore.

| Note Do not provide extension for a database name. |
- Alternate Database Paths - enter a different location for a database you want to restore.

| Note Make sure the existent and absolute Paths has been entered. Otherwise the warning message will appear. |
| Tip When performing an MS SQL Server restore to an alternate directory, the directory must already exist. Create an alternate restore directory before restoring the MS SQL Server to it. Read more in MS SQL Server Restore to Alternate Location. |
Once the "Alternate Settings" has been specified, the special green mark will appear in the "Use Alternate Settings" column.
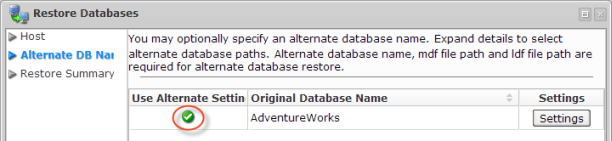
Click "Next" to proceed to the following step.

8. On the last "Summary" screen, the settings you have selected are displayed.
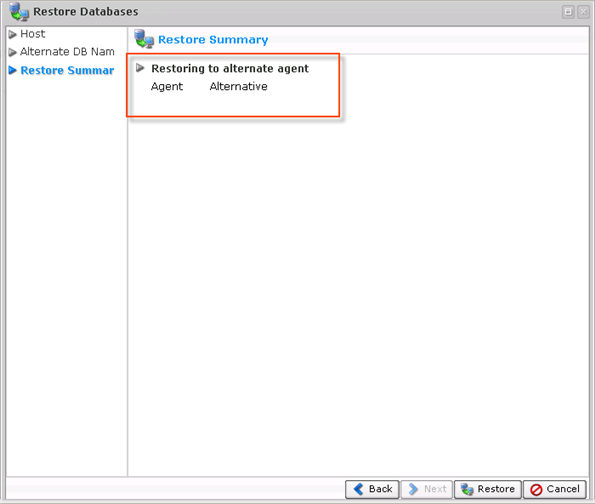
9. Once you have verified that the specified settings are correct, click "Restore." The restore process will start immediately.

10. The "Details for Database Restore" window will appear. It indicates that the restore process has been launched. You can watch the progress in real time.
