Vacuuming your Disk Safe enables you to reclaim free pages (unused space) in the Disk Safe, freeing that space for use by the file system. Over time a Disk Safe will naturally accumulate free/unused pages as recovery points are merged out. If a large number of recovery points are merged out of the Disk Safe at once, the on-disk size will not automatically be reduced. Instead, free pages will be reserved for re-use whenever possible, to store future block data.
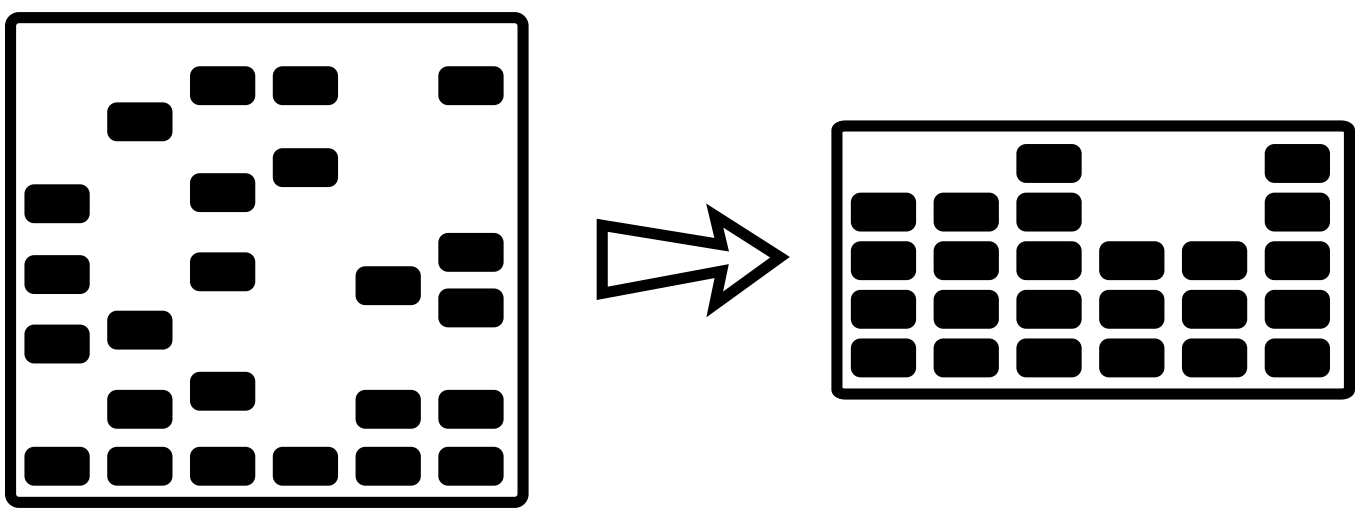
In the following illustration, the image on the left represents a Disk Safe before the vacuum is performed. The image on the right represents the Disk Safe after the vacuum is performed and unused space has been reclaimed.

| Notice Because the vacuum routines are I/O intensive, only one vacuum task should be executed at one time. |
About Vacuuming
The Disk Safe has a fixed size of 32 KB pages. The pages are indexed using B-Trees and each page is packed with block-level deltas. As you merge old recovery points, some deltas can be discarded.
Deltas can be discarded when merging an old recovery point into a newer one when any one of the following conditions are met:
1. The file system (e.g., NTFS or Ext4) is no longer using the block (you will likely have deleted some files and the associated blocks may not all have been re-used by the O/S).
2. The block has become overwritten (you changed a file).
3. You have re-sized your file system to make it smaller, and the blocks are simply no longer used.
When you merge old or unwanted recovery points, it is normal for the on-disk size of the Disk Safe files to not change or get smaller. Normally, this is not an issue and you can let the Disk Safe manage its on-disk footprint, automatically reusing the freed storage for new block-level deltas.
If you delete a device or disk volume from the Disk Safe, its space is automatically deleted because each disk has its own block-level delta store (.db file). When you delete a disk from the Disk Safe, this file is deleted.
When to Vacuum
If one of the following events occur and you need to save as much disk space as possible, then you may want to consider vacuuming your Disk Safe:
1. You deleted a large number of recovery points. For example, you used to keep the last 100 Recovery Points but now only keep 5.
2. You greatly reduced the amount of files or data you are replicating. Maybe you protected the whole C: previously, and you now have changed your policy so that you exclude C:\Windows and another large directory, and the old Recovery Points still containing the folders you excluded have been merged away. Another example is that your D: drive had 100 GB of files on it but now only contains 10 GB.
When any of these events occur, there may be a lot of empty, unused space in the Disk Safe .db files. You can use the "vacuum" action on Disk Safes to shrink the on-disk footprint of the Disk Safe .db files.
When you run a vacuum, the Disk Safe is taken offline, meaning the Disk Safe cannot be used by policies or for restores. The vacuum attempts to shrink the Disk Safe .db files as much as possible by relocating empty pages to the end of the file and full or partially filled pages to the front of the file. At the end, the file is truncated by the number of empty pages that existed in the .db file.
How to Vacuum Disk Safes
Follow the instructions below to vacuum a Disk Safe in Server Backup.
1. Click Settings and then Disk Safes in the Main Menu to access the Disk Safes screen.
2. On the Disk Safes screen, find the Disk Safe you need, click the corresponding Actions icon, and select Vacuum. 
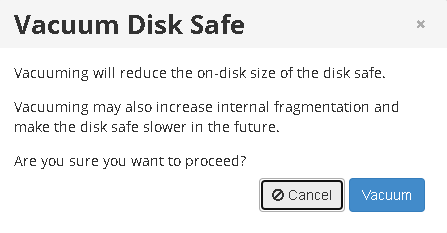
3. A warning window displays. Confirm your request to vacuum the selected Disk Safe by clicking the Vacuum button.

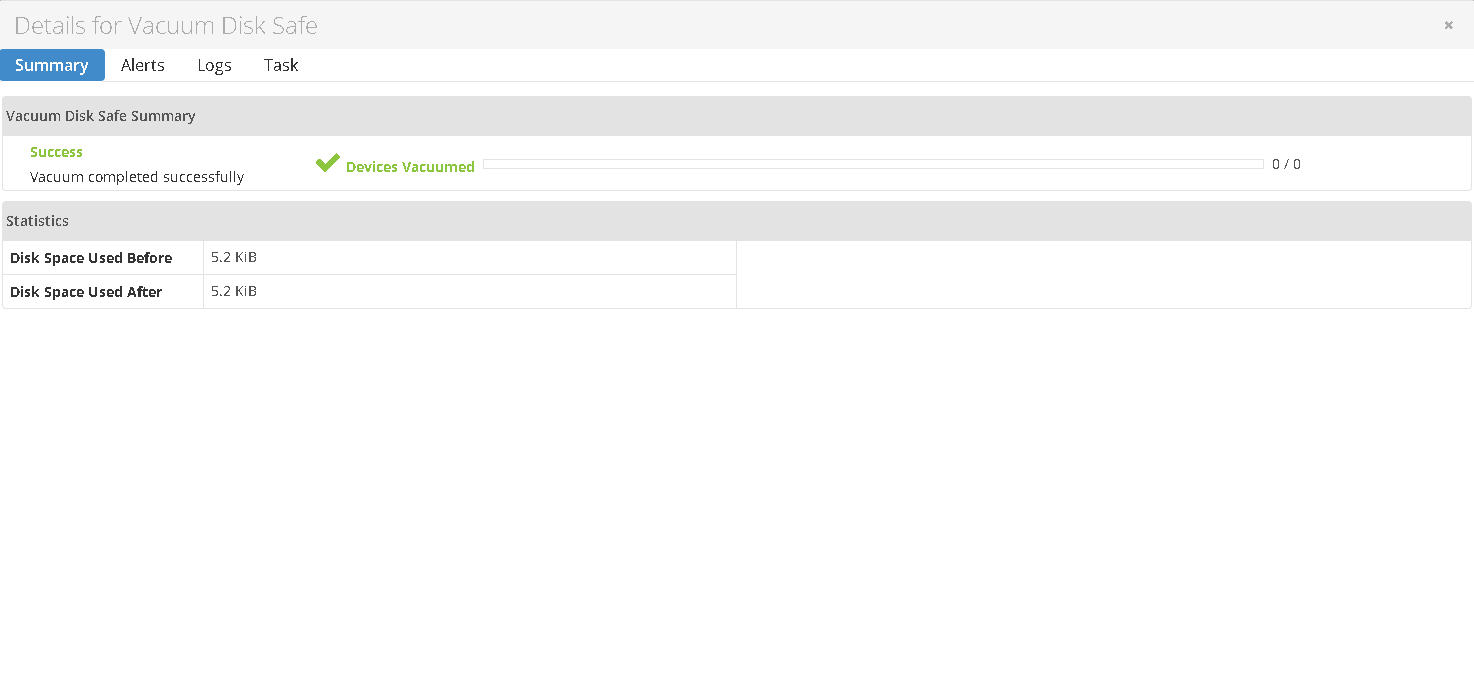
4. The Vacuum process begins. The Details for Vacuum window displays with the vacuum process summary. 
The following tabs can also be accessed in the Details for Vacuum window:
- Alerts. Displays vacuum alerts.
- Logs. Displays the log messages for the vacuum task. You can also download the log messages on this tab using the Download Log Messages button.
- Task. Displays additional vacuum task details, such as the task ID, date and time, etc.

Tip
The Task results can be sent via email as a Report. See Reports.
